Hello everyone, it’s Card Gamer here, and I’m bringing you a deck guide on the newest Boom Baboon Deck, Bandle City/P&Z Lulu. A deck I like to call Sneezy Pile, aptly named based on the new card from the Forces From Beyond expansion, Sneezy Biggledust!
This deck is a spiritual successor to another deck I wrote a guide on, P&Z Yordles in Arms. Just like Fizz Lulu
Lulu , Sneezy Pile aims to take advantage of the Lulu - Flame Chompers!
 synergy and the ability quickly create wide boards and buff them to find wins. However, due to the fact our buff spell is weaker and we have access to a wide range of Manifestable cards, games with Sneezy Pile are not quite as simple as Yordles in Arms.
Not only does this deck satisfy my love of Boom Baboon, I also think Sneezy Pile is a very powerful deck. I have even used Sneezy Pile myself with lots of success during my climb to Masters this season.
Breaking Things Down
This version of Sneezy Pile was built by friend, testing partner, and fellow Baboon enjoyer Ptash, with the help of others such as FloppyMudkip and myself. Ptash even played the deck to Masters with a near 70% winrate.
The list has had slight refinements since then, but this is what I would consider the strongest build of Lulu P&Z for the current patch.

23 cards

17 cards








Lulu is the only champion in this list for one main reason: the other champions we have access to do not help our gameplan more than other spells or followers.
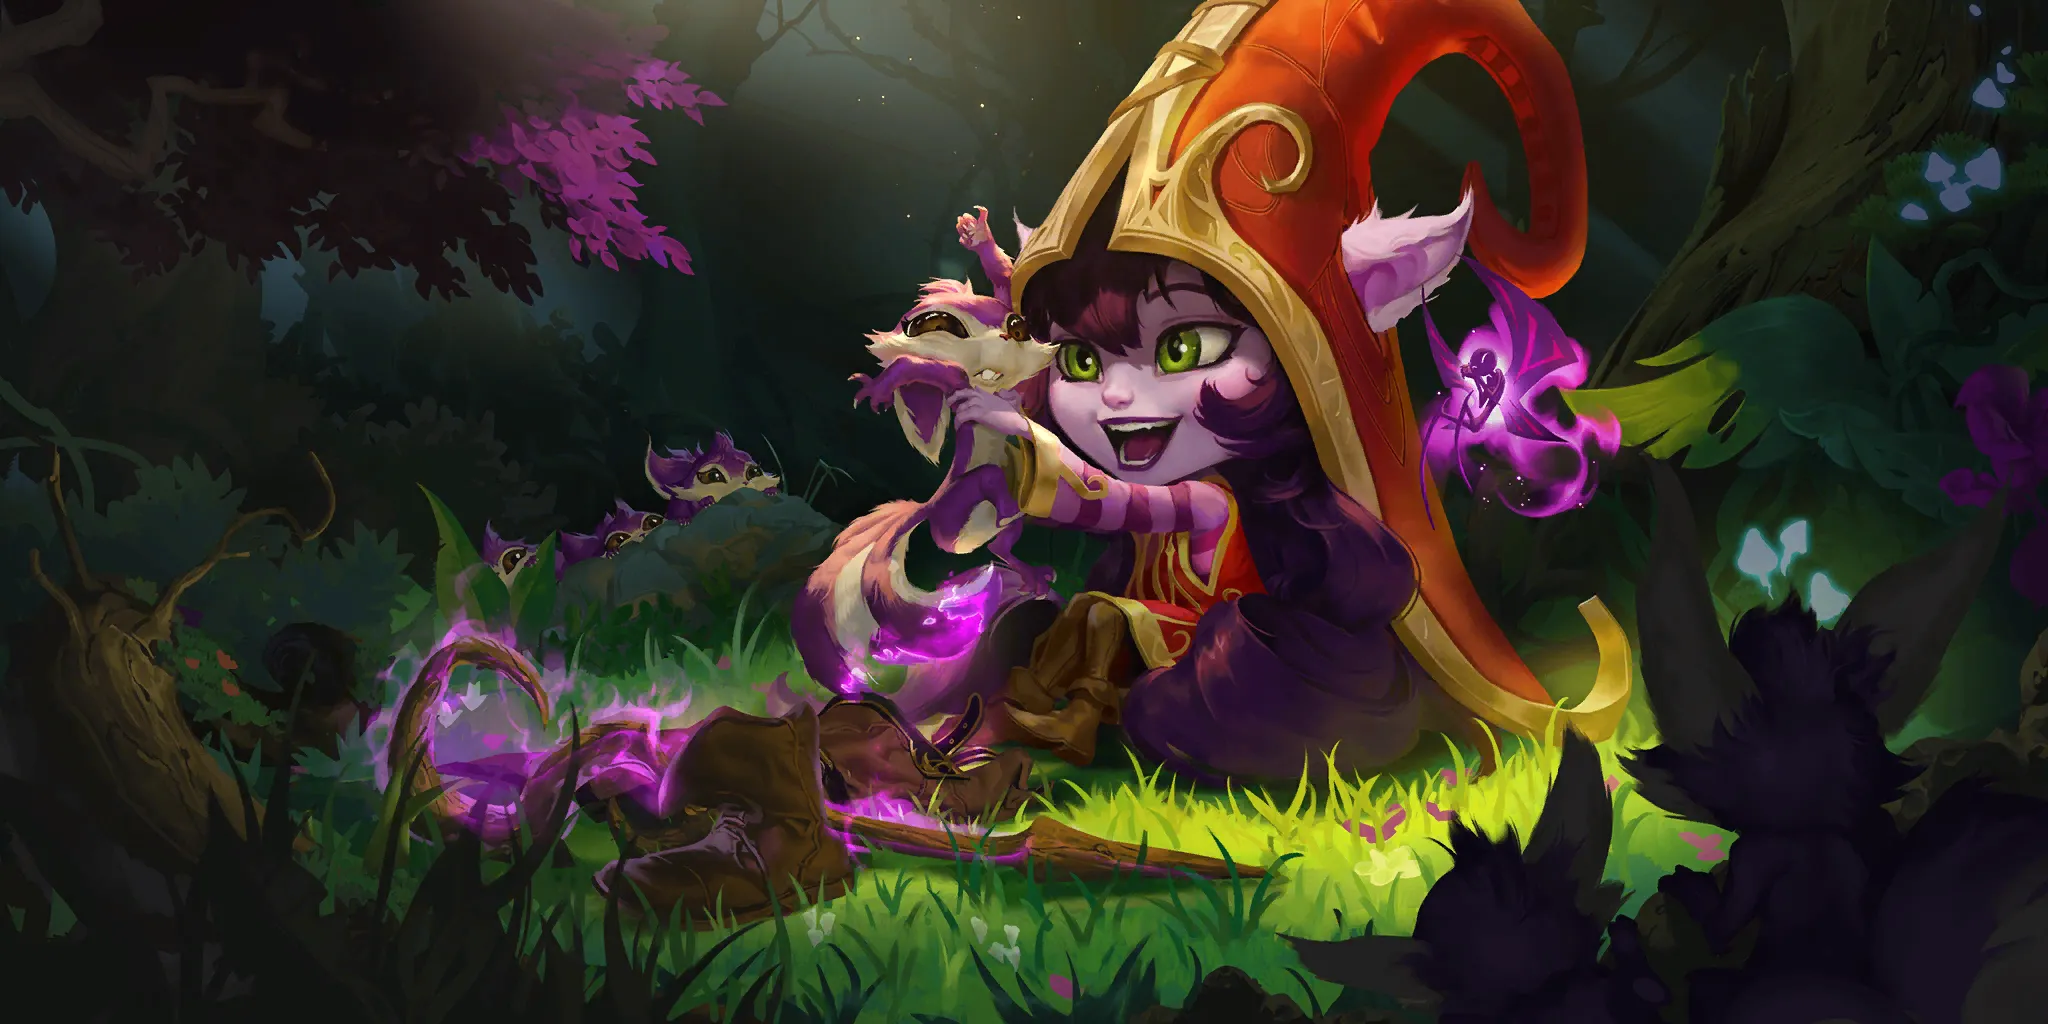
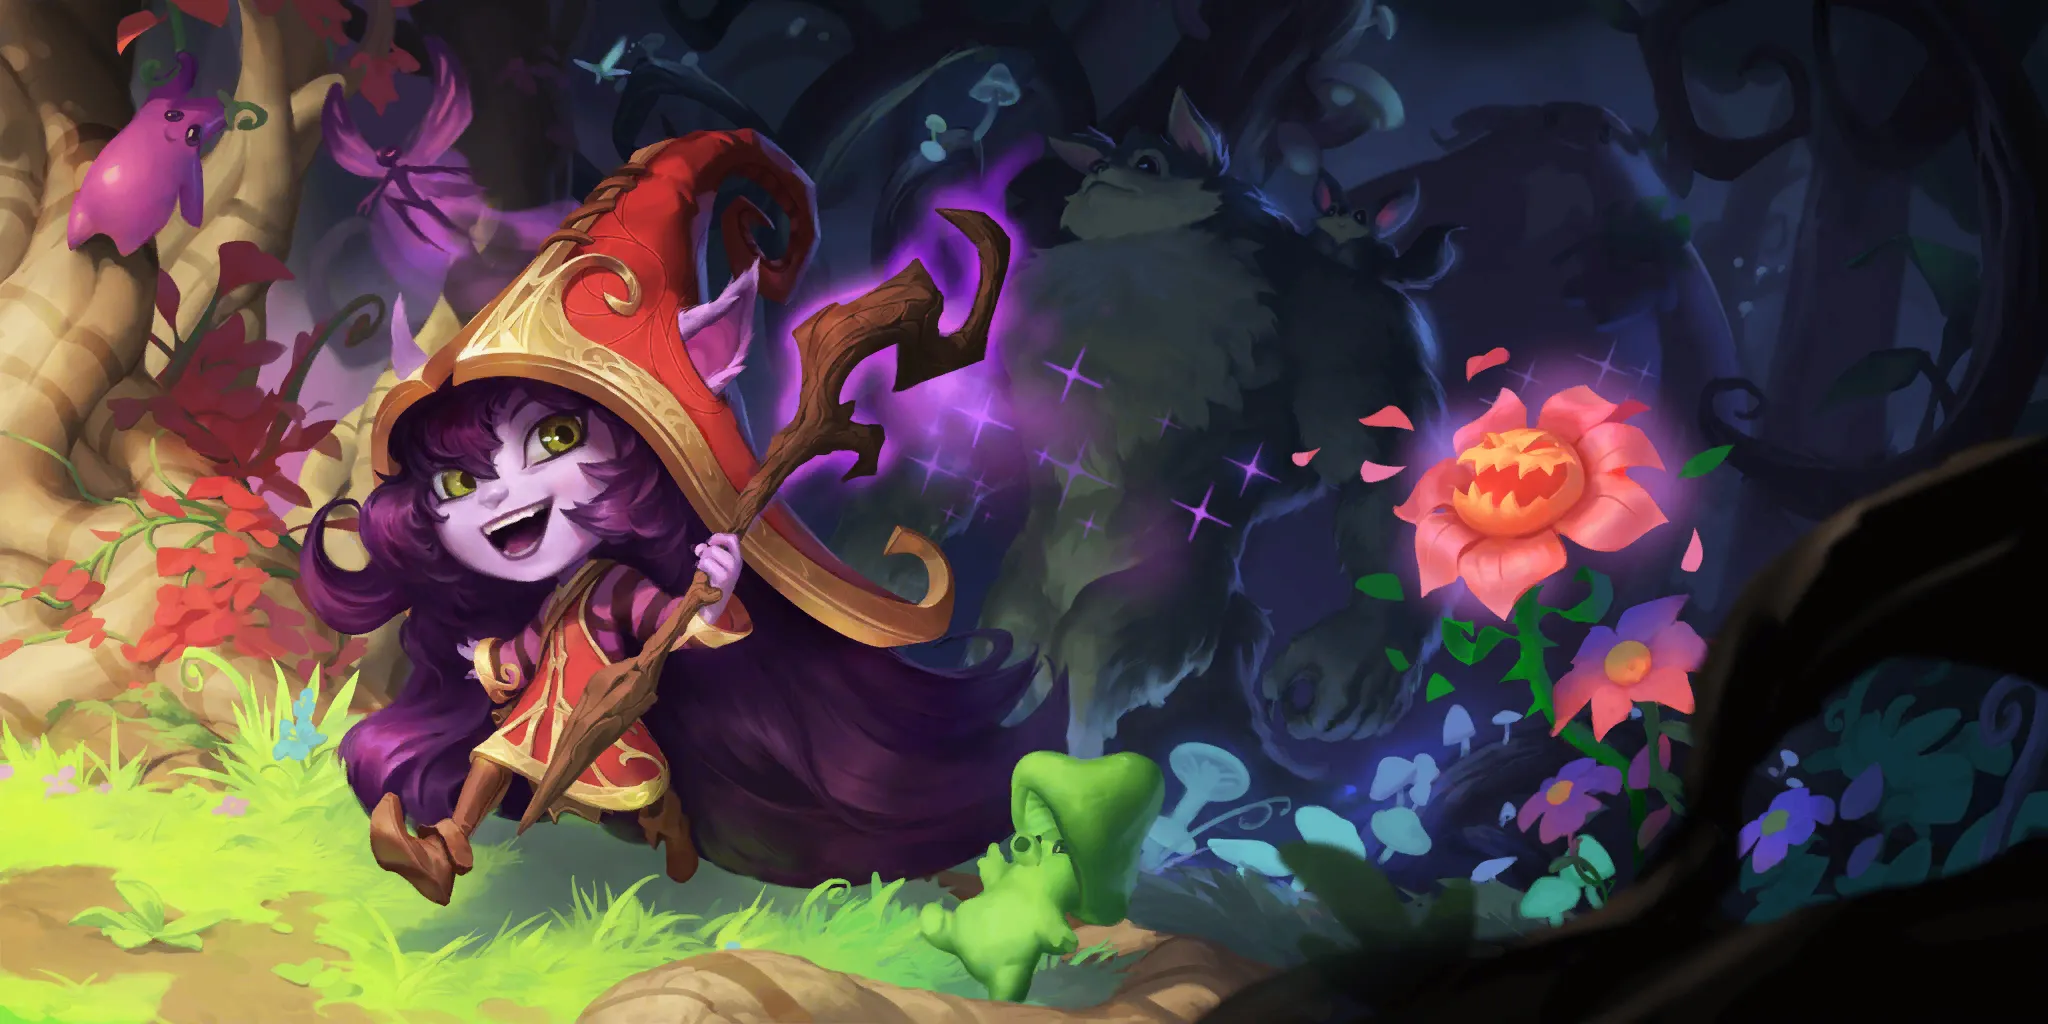
That being said, Lulu is phenomenal for facilitating what our deck wants to do. Lulu’s Support effect allows us to turn our cheap units into serious threats – when you attack with her, she generally puts six points of stats on board. This is a lot for the opponent to try and deal with, and it becomes even more potent when you utilize Lulu’s buff on Flame Chompers!


Poro Cannon is one of the most important cards in the deck, allowing us to Discard at Burst speed to facilitate our Lulu
 - Chompers gameplan. Additionally it gives us Daring Poro
 s to swarm the board and push damage with. And since these Daring Poros are Created (by Poro Cannon), they get the extra +1/+1 buff from Sneezy Biggledust!


Jury-Rig serves as another source of Discard fodder in the deck. The card is fairly low-value so it was never played in the old Yordles in Arms
  lists, but this version of Lulu P&Z has more value injected in other ways to help counteract that. Additionally, the fact the Scrap Scuttler
 is a Created unit synergizes great with Sneezy.

Scrapheap is great in this list as an extra way to Discard Flame Chompers!
 at burst speed. The Mecha-Yordles are also game-winning in a lot of situations. Either by getting on board very efficiently, or giving lots of value the Mechas will be invaluable if you get good Manifest options. The Mecha-Yordles are also Created units that get the extra buff from Sneezy.

Zaunite Urchin is a key part of any Discard deck. It helps cycle, serves as a Discard outlet, and gets on board to chip or block.


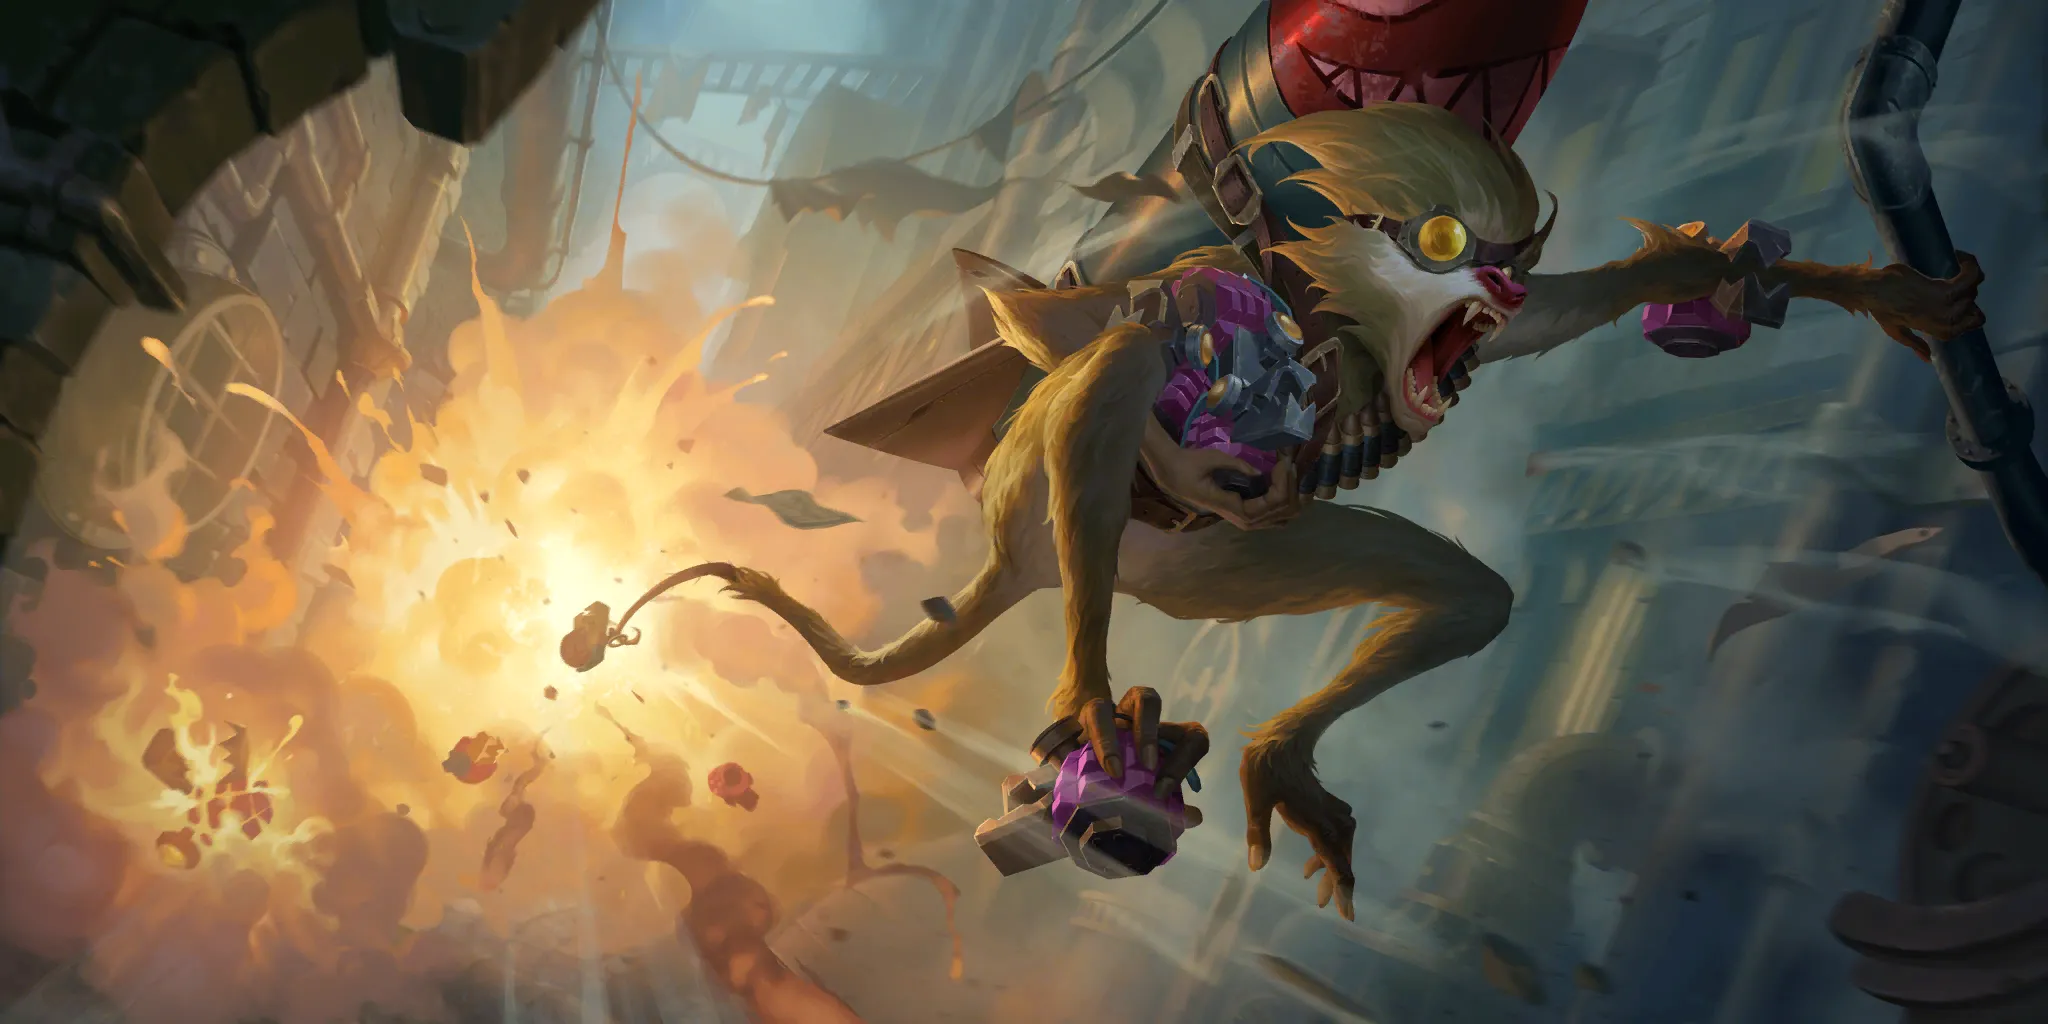
Baboon and Chompers are our deck's backbone. These cards are great on their own to be aggressive and push chip damage. They also combine very well with cards like Lulu and Poro Cannon
 in order to get more value and make the cards greater than the sum of their parts.

Conchologist is a card we never played in the old version of Lulu P&Z because we were forced into the deck-building costs of either Yordles in Arms
  or Jinx
 . Now that we have Sneezy Biggledust!
 as another win condition, Conch is a natural fit for the deck.
Conchologist’s ability to Manifest makes him a great card to draw later in the game, to keep your hand full.
The Bandle City and P&Z 0-3 cost spell pool Conchologist can Manifest from provides us with a very wide and useful range of effects. From Burn, to Landmark removal, to Discard fodder, to Discard outlets, and even combat tricks – Conch can do it all.
Being able to identify the correct Conch pick can be a very skill-testing part of this deck!

Reggies’ relationship with Lulu P&Z lists is quite similar to Conchologist’s. And While Ferros Financier ’s pool of Manifests may not be as wide as Conch’s, Ferros offers a lot of good options that are varied enough, while not offering too many bad options.
In this region combination the six-mana spells Ferros is offering you are:
- Burn (Shock Blast
 /Trueshot Barrage
 ),
), - Board/hand refill (Hidden Pathways
 /Assembly Line
 ),
), - Random wincons (Treasured Trash
 /Glorious Evolution
 ), and
 - Interaction (Minimorph
 /Keeper's Verdict
 ).
).
Getting fairly consistent access to these spells without having to include them in our deck allows us to be very aggressive, while being able to grind the opponent and still have access to game-ending wincons.

Never leave home without at least a couple of Mystic Shot s in your P&Z deck. Either reach or removal, Mystic Shot is a great card.

Never leave home without at least a couple of Pokey Sticks in your Bandle deck. Either reach or removal and it draws a card – Pokey Stick is even better than Mystic Shot .
.

Three damage is a critical breakpoint in Runeterra, and that always makes Get Excited a powerful card. Since Discarding is more of an upside than a downside in our deck, Get Excited is a great inclusion…
… and three damage to the Nexus is quite a bit of pain!

Besides being yet another way to Discard, Yordle Portal can be an extremely impactful card due to its ability to make a sizable unit at Burst speed. This effect can be used to create devastating attacks, or punish attacks from the opponent.

The addition of Sneezy to the game is what allows this deck to function and be built in the way it is.
Unlike cards like Yordles in Arms  or Jinx
 , Sneezy’s deck-building cost is nearly non-existent for the Lulu P&Z archetype. It also allows us to outsource some of the heavy-lifting of being a win-con onto other cards, like Ferros Financier
 .
.

Yordle Captain is great in this deck. He will buff every unit we have, and the buff he provides can single-handedly carry some matchups. Even when Yordle Captain is removed instantly, you will still be able to get some value out of him by Discarding Flame Chompers! via spells on the stack while he is getting dealt with.
Tech Cards

Bomber Twins is a respectable inclusion in the list if you feel the need for extra Fearsome blockers. The landmark the Twins create on summon can be quite a useful bit of value, either by playing or using it as Discard fodder.

Scrap is a cute inclusion and some of the followers you can make are extremely impactful. However, the card is rather inconsistent and overall not worth a spot in the deck list.

Commando in theory should be quite good in the deck. It's an evasive unit that creates cheap units to fill your board with, and hopefully buff with a Sneezy Biggledust! . In actuality, Bandle Commando is a bit slow for the pace of the deck and there are better cards to include.
General Gameplan
When playing the Sneezy Pile there are three main gameplans I will generally have in mind when I go into a match and I will try to use my Lulu Chompers combo as a bridge to get to one of these gameplans. These gameplans are: burn, swarm, and out-value. I will often try to tie at least two gameplans together to try and overpower my opponent and convert that into a win.
Lulu Chompers


Lulu Chompers is this deck’s bread and butter. It’s the deck’s best way to create an early advantage to snowball from. I prioritize trying to mulligan in a way to enable Lulu Chompers in nearly every matchup, the main exception is against decks that play Ravenous Flock .
.
Not only is Lulu a massive threat due to the sheer number of stats she puts on board for three mana, but her ability to buff Flame Chompers! to a 4/4 statline allows you to trade down the board extremely efficiently. Being able to remove an enemy unit for almost no cost also facilitates our other gameplans a lot – having a Chompers survive an attack and kill a unit is a huge step towards out-attritioning or going wider than your opponent.
The Lulu Chompers combo becomes even more potent when you take advantage of cheating actions to get your Flame Chompers! into play.
This is where a card like Scrapheap can really shine – the ability to Discard a Chompers and buff it with Lulu, all the while not allowing the opponent to interact with your Lulu and disrupt her support ability, can do a lot to get ahead on board, or create card advantage.
Burn
This list has 18 damage worth of Burn spells in the main deck. When combined with the potential Manifest options from Conchologist and Ferros Financier
 , it’s very easy to Burn your opponent down from double-digits, if you commit to this gameplan.
When on a burn gameplan, smart use of Flame Chompers! is very important. Getting a few units to connect with the opponent's Nexus on an attack can bring our foe into burn range. Saving Chompers for this attack can be key for getting wins with Sneezy Pile.
Swarm
Like any good Discard-centric deck, Sneezy Pile is great at swarming the board and being wider than the opponent, and this is especially complemented by running six copies of Flame Chompers! .
.
When the Chompers aren’t busy value-trading from being 4/4s (courtesy of Lulu ) or 1/3s (courtesy of the Yordle Captain
 ), they are great tools to pull aside the opponent's only blockers and make way for our higher-power units to hit the Nexus.

Speaking of the Yordle Captain , he is a great tool to facilitate our swarm gameplan. The +1/+1 buff he provides to our entire deck can really add up due to how fast we are able to fill the board. His buff can also be game-winning against ping-reliant decks, and he will demand answers when comes down against said ping decks. If not answered, the game can quickly spiral out of control for the opponent; however, it is important to recognize when Captain’s value isn’t needed, and when it may even be actively bad for us to play for Captain value.

The card that really makes our swarm gameplan potent is the newly-released Sneezy Biggledust! – Sneezy is a very powerful, yet very misunderstood card.
When I watch others try to pick up this deck, they think Sneezy = Yordles in Arms  . While this is a fair view at first glance, this is not an entirely accurate view of Sneezy Biggledust, and continuing to hold this view will actively harm your effectiveness with the Sneezy Pile.
Sneezy Biggledust! is not nearly as effective for trading down the board, and the fact that it’s a focus spell makes it much better against removal-centric decks. Oftentimes a good Sneezy deals an additional 4-6 damage and forces a good trade or two. In this sense, Sneezy is much closer to a Decimate
 than a Yordles in Arms
  for this deck. Our funny Bandle Decimate just uses units instead of the stack to deal damage.

Out-Value
While Fizz Lulu
Lulu Yordles in Arms
  from the past had lots of value for an aggro deck, we haven’t really ever had an aggro deck that can straight-up just play for value. Sneezy Pile is an aggro deck that can just play to straight-up out-value its opponent.
While cards like Boom Baboon , Lulu
 , Zaunite Urchin
 , and Yordle Captain
 have always been good at creating value, the new addition of cards like Ferros Financier
 and Conchologist
 now allow us to play a grindy gameplan and get wins by playing more cards than the opponent.
This gameplan isn’t quite as easy to execute as it sounds, though. Individually, our cards are not very high-value; they often come together to be more than the sum of their parts. There are many awkward hand states where your Discard fodder to Discard outlet ratios are off. And there are a lot of Manifests where it isn’t clear what the correct choice is. Learning how to navigate these spots and predict the possible game states several rounds from now are the hallmarks of great Sneezy pilots.
Tying it Together
As you may have noticed, a lot of our gameplans do a good job of blending together and facilitating each other. This is a major strength of the list, as it allows us to play in a fluid way where we can start playing towards a different win condition if the original win condition we were playing towards is no longer effective enough.
It’s very beneficial to try and pilot Sneezy Pile in a way that leaves you as open as possible to playing any gameplan until you get a good opportunity to choose a primary gameplan to win through. Ideally you can choose a primary gameplan that is not only effective for the matchup you are in, but allows you to easily pivot into other gameplans.
A good example of tying game plans together is against Ravenous Flock decks, like Annie TF or Annie Gwen – these decks have great removal for Lulu and have decent tools to manage our board.
In these cases I will primarily try to play for an out-value gameplan, and try to have swarm as a secondary gameplan.
Cards like Conchologist and Ferros Financier
 will allow you to get units down to trade or push chip damage while keeping your hand full. Since you are keeping up in value, you can take advantage of the fact that your cards are generally cheaper than the opponent's, and keep filling the board and demanding answers. Ideally, you get to flood the board after the opponent has to spend mana on a round they have the attack token, to set up a strong Sneezy Biggledust!
 open-attack.
Tips, Tricks, and Other Intricacies
Recognize When to Save Created Units
Due to Sneezy Biggledust! ’s effect of giving +2/+2 to Created units instead of a +1/+1 buff, Created units can often get more value later, during a Sneezy round.
In most Flame Chompers! decks, you always want to play your Chompers created from Boom Baboon
 first – in most decks, there is no reason to give away free hand information, so it's natural to play first the cards our foe can see. However, the Sneezy pile benefits from having Created cards on board: it’s important to consider if you would rather conceal more hand information now, or set up a better Sneezy swing later.
It’s also important to play in a way to be more protective of your created Flame Chompers! if you have two Chompers on board (one Created, one from the main deck), always sacrificing the main-deck Chomper first.
Play to Your Manifest Outs
A very powerful tool that the Sneezy Pile has, and which old Yordles in Arms  never did, is the access to a lot of Manifest cards. These Manifest cards can give a lot of outs to smooth out certain hand states, or provide straight-up game-winning cards. It’s very important to consider your possible Manifests, and how/when you would want to play.
A great example of this is when playing against Kai'Sa Demacia decks. If you can’t race the opponent down before their round five or six attack token, it’s not uncommon to play a Ferros Financier
 earlier in the game looking for a way to disrupt their Kai'Sa or Radiant Guardian
 – which they will likely try to play on these rounds – and buy yourself an extra round or two to find a way to win the game.
Play Around Scrapheap
Scrapheap is consistently one of the most underrated cards in these Discard Bandle P&Z archetypes:
- Professor Von Mech
 is one of the strongest cards the Sneezy pile has access to,
 - Trumpetecher
 is another extremely powerful card, and you will want to adjust your gameplan if you are curving into her.
 - When attacking on round two, Scrapheap
 can even be used to great effect to bully decks with weak early units. Being able to play a Furyhorn Crasher
 , Geode Mechaforcer
 , or a Bouncer & Bolt
 on round 2 can be devastating for a lot of decks. A round-two Geode can quickly turn Lulu (level 2)
 into a real threat.
General Mulligan Advice

The basic mulligan for this deck is:
- A Flame Chompers!
 (or a Boom Baboon
 will do),
 - Lulu
 , and
, and - A Burst-speed Discard outlet (like a Poro Cannon
 ).
).
An opening hand like this does a good job of getting on the board and creating an advantage if not answered immediately. The decklist is also built with lots of redundancy to help guarantee the likelihood to get these three cards by round three.


This is a great opening hand that allows us to play Lulu Chompers on round three, and has a strong gameplan to transition into.


This is another great opening hand. It allows us to easily play Lulu Chompers in rounds three or four, and we have the ability to get a lot of value out of Captain even if he is answered immediately.
The mulligan for this deck gets tricky when you have to decide what other cards are worth keeping, or if a hand already plays to a gameplan strongly enough that it is worthwhile to forego aggressively mulliganing for Lulu and Chompers.
For example, when against Noxus control decks I will almost always keep Ferros Financier to try and grind with or out-grind the Noxus deck. This is a matchup where I will willingly keep value cards instead of mulling aggressively for Lulu.
Sneezy Biggledust! is a card I won’t often keep in the mulligan. At first I would keep it often, but the card often isn't powerful enough to keep unless your hand is very good at facilitating an early Sneezy round and the opponent has a hard time dealing with wide boards. Azir
 Irelia
 , for example, is a deck where an early Sneezy can be quite effective, but I still won’t keep a Sneezy in my opening hand unless my hand is very good at playing towards it.
Examples
This is one of the ideal opening hands. We have Lulu , Flame Chompers!
 , and a way to Burst-speed Discard our Chompers in Poro Cannon
 . Conchologist
 is a reasonable keep, especially when attacking with Lulu on round 4, but there are other cards I’d rather have in most matchups.
This is another great hand – we have two of the three cards we want to see.
While Jury-Rig facilitates our Poro Cannon
 with this hand, I want to take more opportunities to look for a way to get a copy of Flame Chompers!
 for the first round I can attack with Lulu.
Again, we have two of the three cards we want to see in our opening hand. Yordle Captain would be a good keep in matchups where Captain is especially effective, like against Shadow Isles decks or Thralls.
This is a hand I love to see against Noxus control decks, like Twisted Fate Annie
Annie . Scrapheap
 and Ferros Financier
 are some of our best cards for that matchup to go long against them.
Against almost any other deck that isn’t a version of Noxus control, I would full-mulligan this hand.
This hand is a full mulligan.
Against decks that are weak to Elusive chip damage, Poro Cannon is a good keep as it does facilitate our Lulu Chompers plan. Additionally, if one of the Jury-Rig
 s or the Mystic Shot
 were a Sneezy Biggledust!
 I would consider keeping all three of Sneezy, Jury-Rig, and Poro Cannon if I’m playing against a deck that is especially weak to early swarm.
Specific Match Up Advice
Kai'Sa Demacia (Even)
Key Cards: Boom Baboon or Flame Chompers!
 , Poro Cannon
 or Scrapheap
 , and Lulu
 . Ferros Financier
 , Sneezy Biggledust!
 , and Pokey Stick
 are also important but not keepable with most hands.


The Kai'Sa matchup can be quite tricky. Ideally you can race the opponent down before they can get Kai'Sa or Radiant Guardian
 online. However, the matchup isn't often that simple.
When we can’t race the opponent down, our goal is now to disrupt their Kai'Sa or Radiant turn and then kill them the following round. Keeping the board clear – especially keeping their board clear of Valor – when going into the enemy’s attack on rounds five or six is great for this. Additionally, Ferros Financier
 is great for finding an answer to a Kai'Sa or Radiant Guardian in a pinch.
You want to try to end the game before Void Abomination can come down.
Azir Irelia
 (Favored)
Key Cards: Boom Baboon or Flame Chompers!
 , Poro Cannon
 or Scrapheap
 , Yordle Captain
 and Lulu
 . Pokey Stick
 , Mystic Shot
 , and Get Excited!
 are also great in the matchup to remove key units or end the game, but they aren’t keepable cards.
The Azir matchup often ends rather quickly with both players getting quite low. Both of these decks are very efficient at pushing chip damage the first few rounds, while setting up for a devastating attack on round five or six.
Lulu Chompers are great in this matchup to remove key units like Sparring Student
 , Greenglade Duo
 , Irelia
 , or Domination
 . Additionally, Lulu Chompers is a great way to facilitate trades on our turn. It's great to be offering to trade aggressively on our turn as the opponent will need to swing with units to trigger Emperor's Dais
 or Azir
 ’s ability to summon attacking Sand Soldier
 s; they also need to be attacking with units to level Irelia, since Irelia (level 2)
 can quickly threaten to end the game.
Yordle Captain can also be great in this matchup. The buff he gives to all of our units' toughness is great when it comes to blocking Sand Soldier
 s and Blade
 s. 1/3 Flame Chompers!
 can also be quite useful to keep the opponent's board clear. Just be careful to not play the Captain into too powerful of an opposing Defiant Dance
 .
.
Our burn works great as spot removal in this matchup, since almost all of their units have three toughness or less. This is also a matchup where the opponent will go quite low rather early, in order to try and race. Due to this it can be a very difficult decision if burn is supposed to be used to try to end the game; or if burn is supposed to be used to remove key threats, slow the enemies gameplan down, and win through combat on a later round. When deciding to use burn as spot removal, be wary of combat tricks like Lead and Follow , Shaped Stone
 , and Twin Disciplines
 .
.
Twisted Fate Noxus (Slightly Favored)
Key Cards: Boom Baboon , Scrapheap
 , and Ferros Financier
 . Yordle Captain
 , Mystic Shot
 and Conchologist
 are also important but not key cards.
The TF Noxus matchup often boils down to a value matchup. Because of that, Scrapheap and Ferros Financier
 are our best cards – Lulu
 is often answered by Arachnoid Sentry
 and Ravenous Flock
 , or Make it Rain
 and Disintegrate
 , thus she often gives us no value. Yordle Captain
 can be quite useful even when answered immediately, as 1/3 Flame Chompers!
 are quite good in this matchup and we can often Discard them at Burst-speed when removal for the Captain is on the stack.
It’s important to stop the opponent from getting a Leveled champion. A level-two Katarina , Annie
 , or Twisted Fate
 will threaten to end the game. Our burn is quite valuable in this matchup as spot removal for their champs, and it also allows us to transition to a Burn gameplay easily as this deck has no heal.
Ravenbloom Conservatory is the main way the opponent will clock you. If they don’t have the landmark in play, we can take the game very slowly – if they do have the Conservatory in play, landmark removal can be a great pickup off of Conchologist
 .
.
Bard Illaoi
 (Unfavored)
Key Cards: Whatever gameplan your hand facilitates well. Boom Baboon and Flame Chompers!
Illaoi is by far our hardest matchup. They have six ways to answer Lulu
 between Riptide Sermon
 and Tentacle Smash
 . They have cheap, efficient threats and a good bit of value to deal with our grind plan. They are quite good at going wide and have Make it Rain
 to deal with a swarm gameplan. And they can even race a burn plan a lot of the time.
In this matchup I just try to play and mulligan for the gameplan my hand facilitates best. We are quite unfavored, so I want to try to high-roll and do the most powerful thing I can reasonably do in this game. A good out is, if they play Illaoi for their round-four attack token, you can try to go wide for a Sneezy Biggledust!
 on round five and then closing out the game with burn. The most reliable way to win is getting one attack that deals six-ten damage and then trying to use burn for the rest.
Frozen Thrall (Slightly Favored)
Key Cards: Boom Baboon or Flame Chompers!
 , Poro Cannon
 Yordle Portal
 or Scrapheap
 , Yordle Captain
 , and Lulu
 – Sneezy Biggledust!
 and Zaunite Urchin
 are also very good in the matchup, but they are lower priority than the others.
Against Thralls we really want to take advantage of our ability to summon units at burst speed, and quickly swarm the board to make their sweepers awkward and get chip damage in. Sneezy Biggledust! is also an important card here, for your attacks to beat Sands of Time
 .
.
Lulu Chompers is great in this matchup as Lulu can often get in multiple times, and it threatens Lissandra . Lulu buffing a Daring Poro
 is also great for pushing chip damage to race.
When on a burn gameplan it’s important to try and use your burn before Lissandra levels and gets a Tough nexus.
Aphelios P&Z (Slightly Favored)
Key Cards: Boom Baboon or Flame Chompers!
 , Poro Cannon
 or Scrapheap
 , Get Excited!
 , and Lulu
 – Ferros Financier
 and Yordle Captain
 are luxury keeps and cards we are very happy to draw into.
In this matchup we want to take advantage of the fact our board-wide buff can happen before the opponent's, and that their value is tied mainly to Aphelios while our value is more evenly spread throughout our deck.
It’s important to constantly be trading the board down. You don’t want them to have multiple three-power units on board in order to trade with Lulu . You also don’t want to allow them to have a wide board for their The Winding Light
 turn.
turn.
Their Winding Light will take up their entire turn, while Sneezy Biggledust! only takes a bit more than your entire spell mana. This, combined with the fact that if we remove Aphelios they will have less value than us, means that we should be able to constantly trade down while being able to refill better for our Sneezy turn.
Heimerdinger Jayce
Jayce (Even)
Key Cards: Boom Baboon or Flame Chompers!
 , Scrapheap
 or Yordle Portal
 , Ferros Financier
 , Yordle Captain
 , and Lulu
 .
.
Against Shadow Isles decks, Yordle Captain is very strong – just make sure not to play him into a Thermogenic Beam
 . Lulu
 is very powerful in the matchup; just try to not give the opponent too good of a Shock Blast
 when you play her. Also take advantage of the fact that Lulu Chompers can threaten their level-one champions.
Ferros Financier is very powerful for us to generate win conditions and be able to go late against them. Yordle Portal
 is another great card here, by being able to take advantage of developing extra units without giving up priority. Not giving Jayce
 Heimerdinger
 priority is very powerful, as they like to play reactive in this matchup. Sneezy Biggledust!
 being Focus-speed is also extremely powerful since it can buff your units out of Mystic Shot
 , Vile Feast
 , and Withering Wail
 range without giving the opponent an opportunity to respond (like Yordles in Arms
  would, being Slow-speed).
Annie Jhin
Jhin (Favored)
Key Cards: Boom Baboon or Flame Chompers!
 , Jury-Rig
 , Conchologist]], Poro Cannon
 or Scrapheap
 , Zaunite Urchin
 , and Lulu
 – you just want early plays to live!
This matchup comes down to staying alive. If you stay healthy and don’t incinerate value, you will win this matchup.
Lulu Chompers is great for managing their board and staying healthy. This is one of the only matchups where I actively want to keep Zaunite Urchin
 and Jury-Rig
 , since playing units early is crucial. This is a matchup where Scrapheap
 on a main-deck Flame Chompers!
 in our round-two attack is very strong.
When you have the attack token on turn four, make sure you develop very aggressively so the opponent can’t play their Jhin out.
out.
Closing Thoughts

I hope you found this breakdown helpful!
I think the Sneezy Pile is a very powerful deck with a relatively flat matchup spread, that allows a good player a lot of agency and the ability to outperform the meta stats.
The deck did seem a lot more promising the first week of the expansion, before the rise in prevalence of Bard Illaoi
 , but that being said I still think Sneezy Pile is a great deck to play if: you enjoyed old Yordles in Arms
  , are a Boom Baboon
 abuser like myself, or are not expecting much Bard Illaoi on ladder.
Thank you for taking the time to read this deck guide. If you have any questions about the deck or suggestions, feel free to reach out over Twitter, https://twitter.com/CardGamerLoR, or over Discord, Card Gamer #6777.



 ),
), /Assembly Line
 ),
), /Glorious Evolution
 ), and
  /Keeper's Verdict
 ).
). is one of the strongest cards the Sneezy pile has access to,
 is another extremely powerful card, and you will want to adjust your gameplan if you are curving into her.
 , Geode Mechaforcer
 , or a Bouncer & Bolt
 on round 2 can be devastating for a lot of decks. A round-two Geode can quickly turn Lulu (level 2)
 into a real threat.
 (Slightly Favored)