15 cards

25 cards

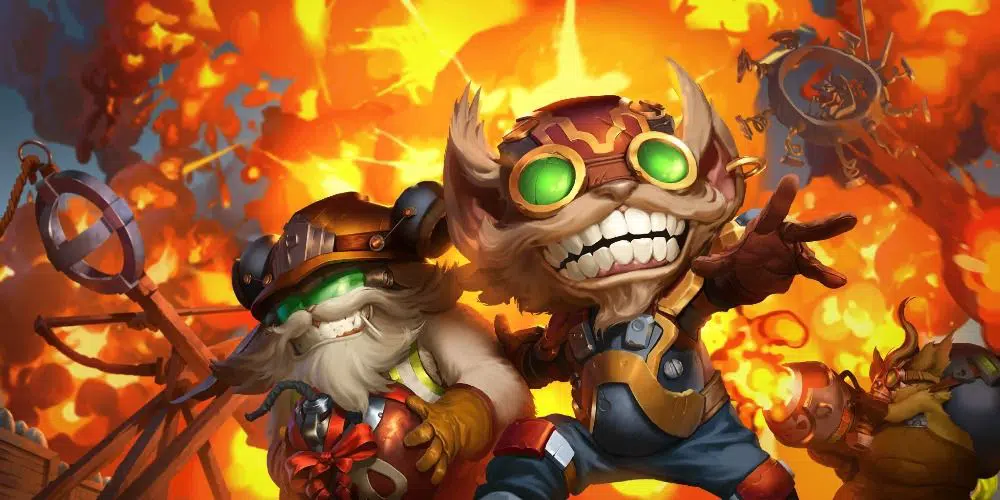
Hello there, my friend who loves short games with fast-paced action and a lot of Burn, baby, burn!! If the aforementioned description fits you, then you will love this guide on one of the top dogs in the meta.
My name is Constantin “CastMin” Dumitru, caster for many community tournaments and peak Top 20 player on the EU server, known for popularizing Burn lists like Pirate Aggro utilizing Double Up in the Rising Tides season and Funsmith Burn.
Now that you know a bit about my background, you will understand why I decided to take you on an awesome adventure alongside Ziggs Poppy Burn. We might not have cookies, but there will be a lot of stacked stones and poisonous darts along the way.
This guide will be devised in the following sections:
Important Cards – they help you progress your gameplan gradually; they are necessary, but don’t stand out throughout the game;
Core Cards – the main powerhorses/bombs that stand at the very heart of the deck; the deck is shaped around these;
Utility Cards – cards that help you smoothen certain match-ups/situations;
I consider going over each card in the deck and putting it in one of these categories very important, because you should know what purpose each card serves in your deck
General Gameplan – how does your game usually progress, phase by phase;
How to win your match-ups – useful tips against the most common decks you might encounter;
Tips & Scenarios – a couple of situations you might find yourself in throughout your ladder games;
Important Cards
Inventive Chemist
“But it’s just a 2/1 that pushes damage! Isn’t it obvious? Why are we even talking about this? AAARGH!!”.
Well, you are right, but at the same time, you might be missing something.
This little guy can make or break your early game depending on how you’re playing it. It has a lot of value as one of your early blockers.
“Blockers?”
Yes, Burn decks also need to block or threaten a down-trade or even trade. I am saying it because most of the one and two drops in the meta are situated at two HP (for example, Crackshot Corsair, Fleetfeather Tracker, Brightsteel Protector, Black Market Merchant etc.). You will want to trade into those or force resources for your opponent to keep them alive, so your actual threats have a clear way towards your opponent’s Nexus. See it as a delayed Legion Saboteur that can block and still deal the 1 point of damage.
Legion Rearguard
“Again. It’s just a 3/2 that deals damage”.
Yes, but it is a damage dealer that cannot block, so while it excels on offense, it is terrible on defense, which makes the previous case for Inventive Chemist perfect: if you have the choice of developing one of the two on turn one, keep in mind if you will be having the attack token or not.
No attack token → Develop Chemist
Attack Token → Develop Rearguard
Legion Saboteur
This is the child of the previous two cards, with medium defensive and offensive capabilities.
“Why are we running it, then?”
Because the card is great at blending in the environment. Remember you are playing a deck that can swarm the board heavily, set up multiple threats on the board, and request many answers from the opponent. In all this chaos, people will look forward to removing the bigger threats, with more attack, more burn potential and escalating value. While that is great for them, it is also great for you, because it is another turn Saboteur is unblocked and can threaten at least one more over-the-top damage next attack.
Imperial Demolitionist
This is not your traditional two-drop, because you will often not be playing it on turn 2, but later during the game.
“Alright. A two-drop that you’re not dropping on two. What’s the catch?”
The catch is most of your units are not frail as the game progresses, having at least 2 HP starting turn two and beyond (+ Legion Rearguard), making a perfect target for Demolitionist to push that extra bit of damage to close the game off, baiting removal when you are in a favorable spot, so you can find an “excuse” to use your Noxian Fervor .
.
My ideal combo is Stone Stackers into Imperial Demolitionist. Even deploying it like that on an off-curve is paying dividends, because your opponent will most likely not have an answer and both of the units’ stat lines make them hard to remove early.
Noxian Fervor
“Three damage to the face!! LET’S GOOOO!!”
Hold your horses a bit, partner; this rodeo has two cowboys. The key to deploying Fervor is sequencing. Fervor is one of the few reactive cards in your deck as a response to your opponent trying to remove a unit outside/during combat, as a means to milk some more value from that poor unit’s soul before it dies a horrible death *evil laughter, evil laughter*.
This previous phrase holds a lot of meaning: “as a response to your opponent”. Response means “something constituting a reply or reaction” (Merriam-Webster Dictionary, 2021), so your opponent needs to commit first, which makes Fervor playable when:
- You forced your opponent in a corner, they are at a disadvantage and they need to react so they don’t they;
- Your opponent has taped out of an answer for your Fervor and its damage will finish off the game right there and right then;
- You are the one forced in the corner because your opponent had a considerable amount of answers to your threats and they are now in the driver’s seat. If Fervor is the last bit of damage you need and you are put with your back against the wall, fire it off, or set up a Demolitionist + Fervor. If they have it, they have it.
Decimate
As you might know, this is one of the usual culprits that are ending the game for you in either a favorable or unfavorable situation or during a stalemate.
You are never looking forward to keeping it in the mulligan and you are never looking forward to dropping it like it’s hot while you have development possibilities. I will even consider passing a turn where my hand is bricked with a Decimate just so I don’t allow my opponent the opportunity to control the game and make it their own. You could have a Fervor that you could use as an answer if they are committing removal, or if not and they are calling out your bluff, fire it off after they used their removal.
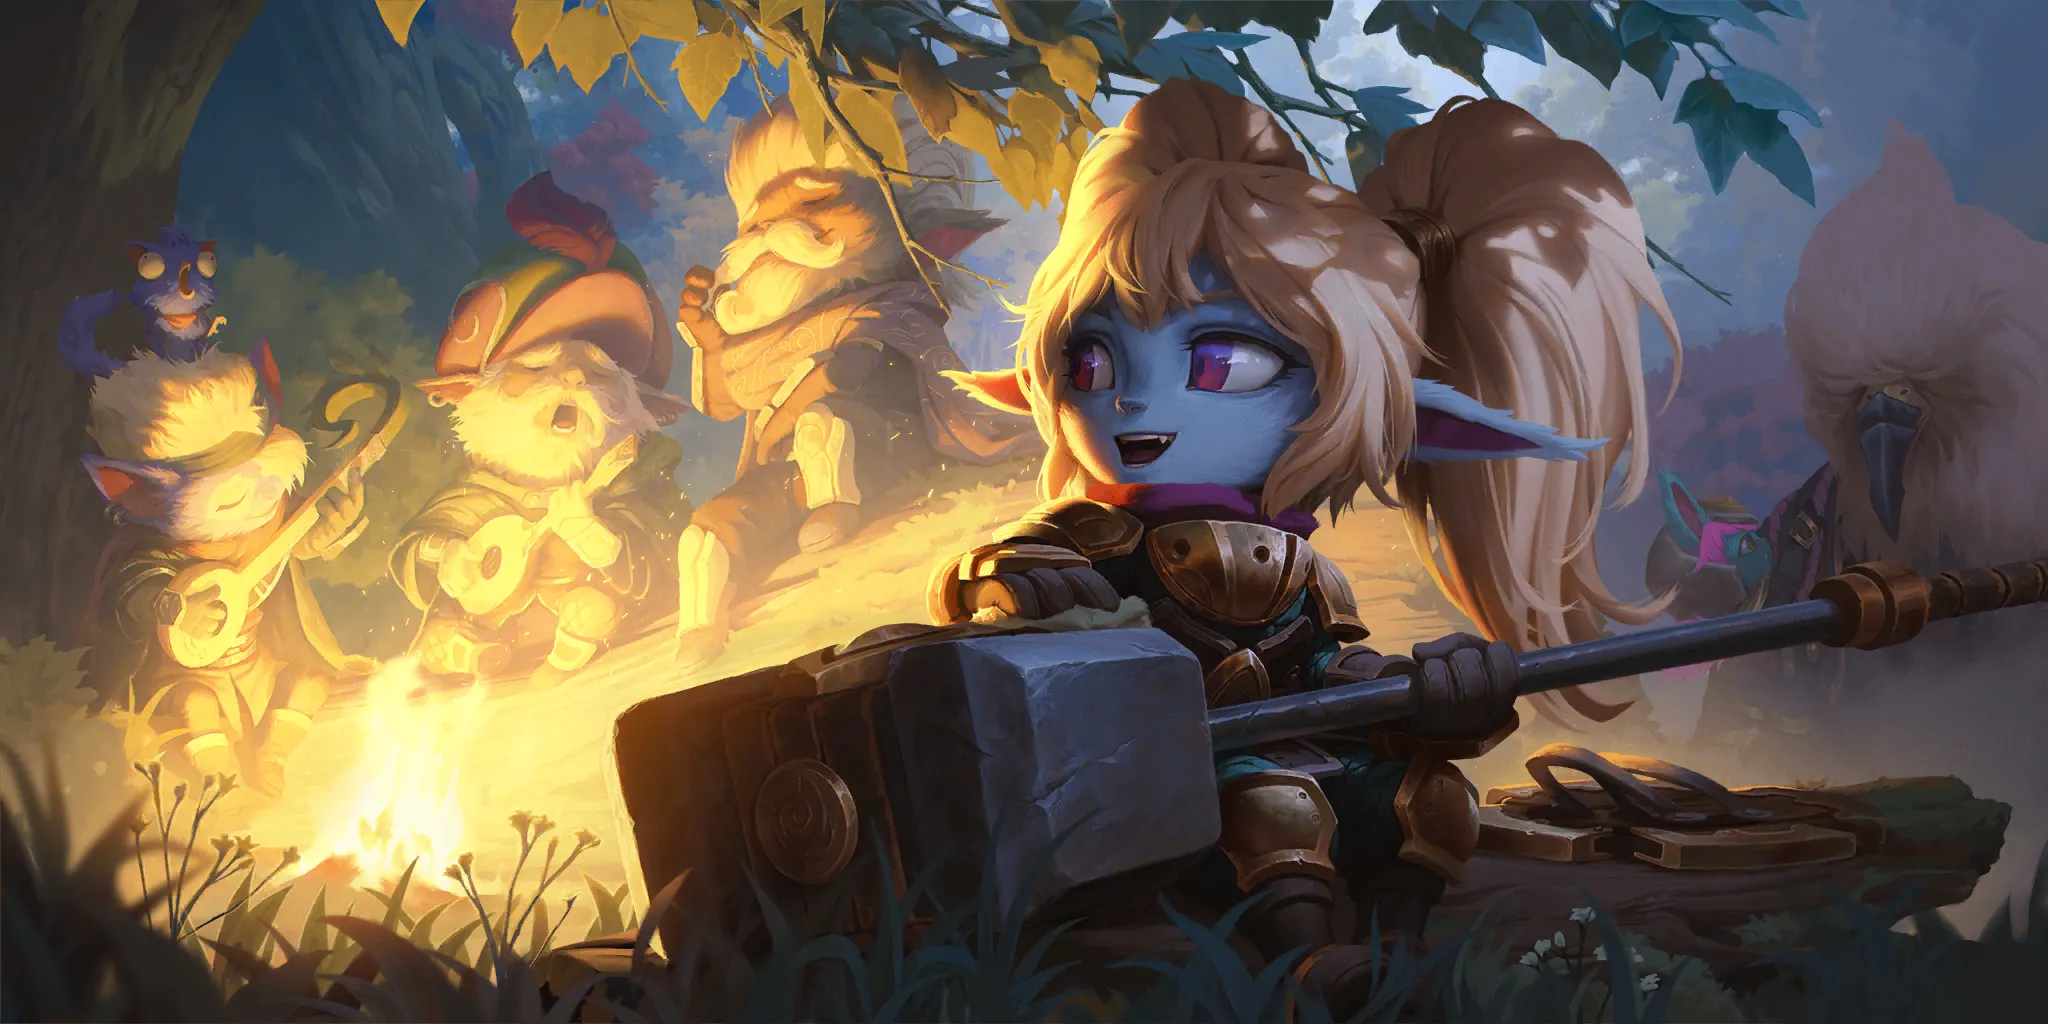
Poppy
“Wait a second. A Champion that is not a core card? How is it possible?”
It is possible here because Poppy is at the frontier between Important and Utility. I decided to include it in this category because it calls for immediate answers and can get the game out of your opponent’s control otherwise.
You are generally swarming the board and have well stated units, so Poppy will provide additional protection to them (especially against AoE), making sure they live to hit the Nexus for another turn. It also pairs fairly nicely with Stone Stackers and Tenor of Terror.
She also synergizes very well with Bandle City Mayor , as you can pick a low-cost drop and develop that alongside Poppy
 after.
Core Cards
Stone Stackers
This is probably the bread and butter of your deck, as you have seen me mentioning the card during the previous category several times. The 2/2 stat line in addition to the Tough keyword makes it very hard to block and remove so:
~ It is the ideal target for Imperial Demolitionist, as it requires a big investment from your opponent to get it off the board;
~ It is the ideal target for Noxian Fervor in all the scenarios we have mentioned before, also because drain effects like Vile Feast or a fast speed and unbuffed Darkness cannot clear the unit;
~ It is the ideal target for Poppy’s buff because you are improving an already well-stated unit with Tough;
~ You can make use of the Impact turn for a few turns, due to its high survivability.
~ You can block into most one and two drops and still keep your unit alive after switching to offense.
~ Removal like Avalanche, Blighted Ravine or Bilgewater Pings + Keg will not be enough to clear it off.
Bandle City Mayor
This is a primary value engine for you, because:
~ It makes it easy for you to flood the board with cost-reduced units;
~ Helps you drop Ziggs on the following turn plus another unit;
~ Enables your Tenor of Terror fairly easily;
~ Can help you start a fairly cheap Loping Telescope value train.
~ Provide you with a lot of finishing power, as you can generate additional Tenors of Terror (that will be activated by themselves), Poro Sled]s that are hard to remove, Furious Faefolks that are usually activated due to the nature of your deck to deal damage or Shark Trainers that can provide two attackers at the price of one. Aloof Travelers is a good pick going into Control decks, as you can discard their top end and removal.
Tenor of Terror
After activating it (playing a created card or killing a unit with a spell), this card is self-sufficient, because:
~ It generates two bodies, making it hard to deal with both without spending at least two removal resources from your opponent.
~ The Impact keyword on two units makes your opponent’s blocks hard to figure, as by then you will already have a wide board built up. Even both units get blocked, t which means other units get to leave and sneak in damage.
~ Poppy is the perfect distraction from them because your opponent has to deal with her first, so your Tenor of Terror and Bass of Burden don’t become unblockable.
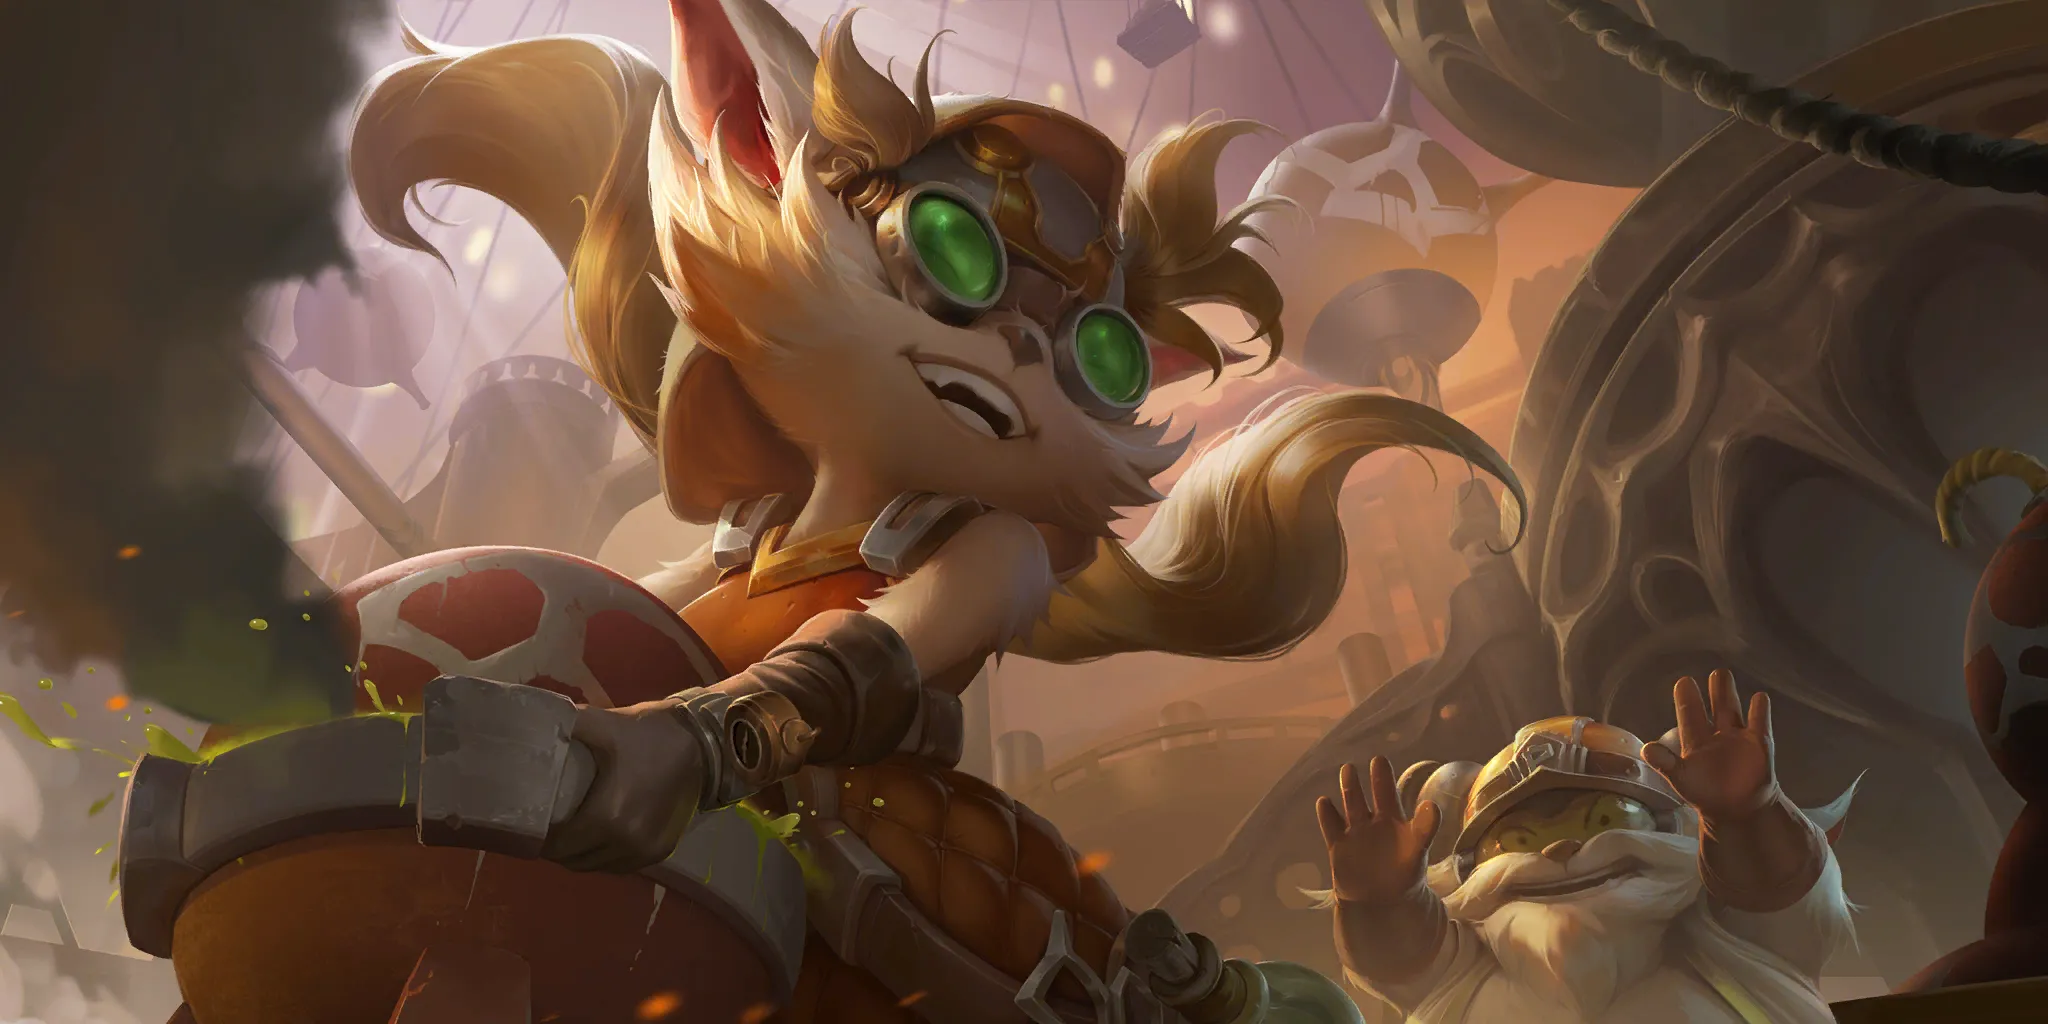
Ziggs
He is generally the bigger brother of Legion Saboteur, with boosted offensive capabilities, due to dealing 1 damage both to its blocker and Nexus, making it hard to block. The defense aspect is boosted as well because four HP on a three-drop requires two removal resources from your opponent to deal with.
Utility Cards
Conchologist
His utility comes from:
~ Generating activators for your Tenor of Terror;
~ Generating cheap ping spells (Blade’s Edge, Group Shot, Poison Dart, Pokey Stick, Bouncing Bomb), attack buffs (Elixir of Wrath, Brothers’ Bond, Transfusion, Weapon Hilt, Might, Sharpened Resolve, Vision) and conditional removal (Ravenous Flock, Culling Strike, Death’s Hand, Whirling Death, Roar of the Slayer, Scorched Earth, Noxian Guillotine), alongside additional copies of Noxian Fervor, as Agigas suggests;
Pokey Stick
Its utility comes from:
~ Helping you fish for your finishers (mainly Decimate);
~ Helping you fix unplayable hands during the mid-game;
~ Helps you proc your Tenor of Terror, as you can use it to remove 1 HP units, thus activating the Tenor.
Lecturing Yordle
His utility comes from:
~ Removing already damaged or low HP blockers preventing wide or decisive attacks.
~ Helping you grind slower match-ups or stalemates, as you can push the final bits of damage over 2-3 turns using Poisonous Darts and the generated Puffcaps while waiting to draw a finisher.
~ Being able to block when it comes down, without additional HP buffs from Poppy.
General Gameplan
If you read throughout the previous three sections you most likely have the basics in terms of what the cards are supposed to do, so let’s put all these wheels into motion and see how you should play this deck.
Your main game plan is to be wider and push more damage than your opponent, so your Decimates and Fervors can close it off.
Your general mulligan plan will not change heavily against different match-ups.
In the mulligan phase, you are looking for your early one-drops. Triple one-drop hands can occur sometimes due to the curve of the deck being low and I would advise you to keep those since your pressure game will be even more explosive and demanding in terms of answers from your opponent.
You are generally looking to fill the gaps for your curve after you’ve made sure you mulligan for your turn one play. If you have a one-drop, start looking for a two, for a three, etc. Absolute keeps are Stone Stackers + Imperial Demolitionist and you’re never looking forward to having Imperial Demolitionist alone otherwise unless there is a Legion Rearguard that you can pair it with early.
Conchologist / Bandle City Mayor + Tenor of Terror is a nice keep, as well, if you have a one drop in hand already, as you can activate your Tenor very early.
The play priority for your two drops should be Stone Stackers > Conchologist > Imperial Demolitionist.
If your hand is looking bricked with spells on turn two, regardless of having a one drop played or not, and you have Demolitionist in hand, I advise you to play it. The reason is you don’t want to concede board and tempo to your opponent and force yourself to play from behind.
If you have to decide your turn 3 between the Mayor and Ziggs:
- The general good choice for offensive turns is Mayor, as you can snowball into a wider board and play additional units alongside a discounted Ziggs next turn, thus furthering your board advantage and pressure, or into a one-drop plus Poppy.
- The general good choice for defensive turns is Ziggs, as your opponent will not want to attack into a unit that can easily block whatever they can deploy unless it is a Draven deck;
By turn 4-5 your board should be pretty wide, with Tenors already on board and looking forward to closing the game on turn six-seven with a few wide swings and your Burn.
Trading during the game should only occur if the answer to the following questions is positive:
- Am I trading evenly or up with my opponent’s units?
- Is my opponent able to protect this unit?
And if yes, is the unit crucial enough to deserve that protection or are they saving it for something else?
- Will the trade happen next turn anyway?
This is called simplifying the board state. You will essentially be doing yourself a favor, as you won’t need to play against a set of combat tricks plus the unit in question.
How to win your match-ups
Before we are diving into this aspect, the following will be a constant throughout my deck guides: I will be helping you and guiding you to understand how to win match-ups, putting less emphasis on the win rate of the deck; on the ladder, you do not get to choose to play against your favored match-ups, so you need to be willing to adapt. The same goes for tournaments, as a solid line-up with comfort decks that you know how to play will beat a line-up brought just for the sake of being a good meta call.
Zoe-Nami
This match-up is all about pressure more than any other, because you are essentially on a clock until your opponent reaches turn four, where he can deploy Nami→ Gifts from Beyond → Crescendum → Sparklefly. Does this mean that you are doomed? No. It just means you cannot miss any bit of damage, because it might be the one that secures your win.
You will be playing Turn three slightly differently if you can only output a maximum of two attackers after developing because you are giving them an excuse to use Double Trouble and negate most of the damage.
Do not be afraid to use Pokey Stick on Zoe turn two or turn three, after they used Double Trouble, as you are delaying Nami’s level-up, and thus the HP buff on a potential Sparklefly. Why? Because they already invested a Zoe on turn one or two, thus missing onespell mana for Nami’s level-up condition. Your demanding protection for Zoe means they will be missing another two spell mana, thus giving you more time to develop a considerable board.
Drawing your curve in the mulligan can incentivize you to keep Poppy, too, as your opponent will have to develop blockers to defend themselves and pushing the aforementioned Nami level late once again. Drawing into her on curve is accomplishing the same purpose.
Keep in mind they need to invest the three spell mana on turn three if it is the exact amount they need to level-up Nami next turn, so you can openly pass on that turn, especially if you are on your defensive turn, you are holding Bandle City Mayor in hand and you are afraid of it getting killed by a Line ‘em Up.
Your best bet into a leveled-up Nami + Sparklefly on the board is Noxian Fervor, as you can attack wide and Fervor the unit blocking the Sparklefly for the last bit of damage. The deck is running Spell Thief, but you need to understand you are playing that game to win, therefore you cannot afford to back down and think about everything that can go wrong.
As a final piece of advice, remember Make It Rainis a possibility in the deck, even though recent versions have been cutting it.
Shadow Isles-Freljord Control
Unlike the previous traditional Burn decks, Stone Stackers and Poppy are much welcomed additions that help smoothen the match-up out, as Avalanche and Blighted Ravine cannot remove boards completely anymore. You will ideally be keeping them both in hand if you are holding a one-drop and three-drop or one-drop and Imperial Demolitionist.
The make or break of the match-up consists of the Noxian Fervor timing. Mainly, you want to use it to negate a Grasp of the Undying, as it is their most impactful removal that can clear your Stone Stackers and Poppy, while also healing them. The ideal way to navigate it is to not invest Fervor until they invest their Grasp, even if denying Vile Feast value seems appealing to you.
For the Feel The Rush match-up in particular, if the game will inevitably be dragged due to their multiple answers, a key card to look out for from Conchologist is Stress Defense, as you can buy one more turn for your Burn top end while you get to lower the value of a big Tryndamere, Trundle and these combined with Atrocity.
For the same match-up, hitting Aloof Travelers from the Bandle City Mayor can discard their Feel The Rush, Ledros or Tryndamere
.
PnZ-Bandle City lists
If it’s either Teemo-Caitlyn or Ezreal-Vi, they are losing power on one hand, because the Bandle City splash requires them to play early blockers like Conchologist, ppLoping Telescope or Otterpus, into which you can value-trade. On the other hand, they are getting access to Pranks, which can increase the cost of your Burn spells and give them additional information on your hand, and to ppAloof Travelers]], that can discard your Burn. While you cannot always play around them, pressuring the board will often result in getting to use the Burn while they are busy clearing your units.
As the decks do not run healing or health buffs, your Lecturing Yordle will be hitting additional value with his Poisonous Darts on both units and Nexus.
While they are running cheap removal for your units, it is not unlimited, and you will be able to chip their health away fairly easily.
Ping City (Gangplank-Twisted Fate)
This is a clash of two Burn decks in which your role is the Aggressor, your opponent having access to cards like Pokey Stick, Make It Rain, Twisted Fate’s Red Card, Line ‘Em Up or Double Up, all combined with Kegs, so they can try to wipe your board pretty often.
Stone Stackers is the premium unit in this match-up, as a lot of their Ping + Keg removal will be rendered useless.
While you cannot avoid their removal at all points, you can take precautions by trading up or trading even your low-health units early, forcing their pings early and baiting commitment like Double-Up, so your Fervors make sure they take damage and you do not.
Additionally, take care with your development on your attacking Turn four; if you have a lot of one HP units, it can be wiser to open attack instead of giving them the chance for a valuable Red Card from Twisted Fate.
The Mirror
Playing against an opponent with the same cards and same game plan can be frustrating, right? But even in this scenario, you have a few keys to win the game.
One of them is getting a wide board into a Poppy swing, as you are both very adamant about not spending resources like Fervor on units rather than the Nexus.
Another is finding Aloof Travelers from Bandle City Mayor, so you can discard their Burn.
Something that will pay off for you is attacking and blocking correctly once the board is getting cluttered, as you are looking to attack with units that trade evenly or trade up. On the other hand, a lot of these mirrors are being decided in the blocking phase, where inexperienced players will just throw everything they have at you. Take advantage of the blocks and the mirror will be yours.
Darkness
Darkness being a slow and expensive removal spell means you can capitalize on swings until they manage to buff it and discount it. Unlike the Freljord-Shadow Isles scenario, Senna
 being on the board means Withering Mist is added as a stabilizer to Grasp of the Undying, therefore another Fervor target to keep in mind.
Ixtali Sentinel has a Radiant Guardian
 type of effect, managing to stabilize their board state and HP total. This also means another possibility for you to use your Fervor to deny healing.
Draven Sion
The nature of their deck makes them more focused on the mid-game, both with their power plays and the turns they start dropping units. You can make use of this information by using your early pressure and making them block with units like Risen Rider just so they don’t fall under the pressure, sometimes even trading one-drops into it.
Ziggs is your best friend against Draven
 , as you can get rid of the glorious executioner on an offensive turn or can force out Whirling Deaths and Axes into Survival Skills
 , thus lowering their hand size and answers for your future board developments.
Try playing around Draven’s Whirling Death , as it can trade up massively into your wide swings and changes the tide of the game. If you are close to burning them out and they decide to go for such a play while you have Noxian Fervor
 , I would advise you to invest it on their Nexus, so you can at least force a Get Excited!
 or Mystic Shot
 , thus hindering their Draven level-up.
Take care when picking Aloof Travelers from the Mayor and when you are sequencing it, preferably after they played their Twinblade Revenant. This especially comes in handy because you can hit Sion and send it back into their deck or a Survival Skills, in which case they cannot use it at their discretion to protect units and it helps you when deciding your blocks.
Closing Words
The Bandle City Burn is one of those decks easy to pick up and hard to master without proper practice, like all good things in life. One final piece of advice for you, my fellow Burn player, is to start making use of your opponent’s time when not playing against Aggressive decks because you can figure out the way to go with your plays and insta-lock them. This has a psychological effect on your opponent and makes them play at your pace, rushing decisions and forgetting about the big picture; you can win half the battle this way. I did not realize I was using this before the latest Americas Seasonal Champion, Moe, told me about it in his Seasonal interview.
If you enjoyed this guide, don’t forget to check out my Twitter (https://twitter.com/CastMinTV), as I will keep you up to date there about my future articles and future interviews with top competitors that are playing these decks at the highest level and can give you even more insight.


