


Editor's Note: This is a repost from an article Jasensational wrote last year but is just as relevant today. We are reposting the series to let viewers that haven't seen it before be able to read it and because we've updated how we post so the old posts no longer display properly. Hope you enjoy!
Hey everyone, Jasensational here. This article is part of a six-part series geared towards newer players to teach them about the fundamentals of Legends of Runeterra (and card games in general) – here's the first article, about Tempo and Archetypes. Each article is aimed to build on each other and teach you how to think deeper behind your plays and how you pilot the game.
If you missed the first article on Tempo, I highly advise you to check that out firstas we are going to build off of the fundamentals discussed there. Today, we will advance to the next part of the game, and that is Win Conditions. We’ll dive into what a win condition is, and what you need to do to achieve your win condition.
What is a Win Condition?
All the best LoR decks, be it for ladder or Tournaments & Gauntlets, have a Win Condition – and some of them have several. This can be a champion, or a few cards that when played will try to end the game. From there on out, the overall gameplan of a deck will be structured around its Win Condition.
Feel the Rush

12 cards

28 cards


Let’s take the classic example of Feel The Rush and Atrocity
 .
.
These two cards together form the basis of our Win Condition, allowing you to end games on the spot with 20 attack in Overwhelm damage. Because your Win Condition is only achievable starting round nine or ten, the overall gameplan of the deck is to stall and control the board until we’re ready to drop Feel The Rush safely. This is very important as knowing your Win Condition will shape how you play out your cards, how you pass, and how you attack. In most cases, simply casting Feel The Rush and attacking once will result in us winning the game. This means that we do not need to be setting up aggressive attacks just to push one or two damage in the early game. Our units are more valuable at chump-blocking on defense, rather than trading down offensively. We also may want to consider not playing out our units if we plan on casting board clears like Avalanche or The Ruination
 . Or we may want to value Kindly Tavernkeeper
 for its heal three rather than tempo playing it early.
It’s important to align the deck’s Win Condition with its overall strategy and game plan. This is where we tie in the first lesson on Tempo and the basic Archetypes. Feel The Rush is a slow control deck that aims to win with large overwhelm units late in the game through playing out Feel The Rush. Every turn we will prioritize slowing down the opponent’s Tempo with control tools and removal. It’s easy as a beginner to play out cards on curve like Trundle on turn five or Tryndamere
 on turn eight, without realizing that that will not always be the correct play. By recognizing this as the win condition of the deck, your play will change completely.
Identifying Alternative Win Conditions
In a perfect world, you can execute your main Win Condition every game. However, in practice, that is not generally the case. Depending on the matchup and/or the hand you draw, you have to play out the deck in a different way to win. It’s important to be able to shift your game plan mid-game accordingly.
Let’s take a look at another deck: The Bandle Tree .
.

6 cards

34 cards


This deck's goal is to play out cards from all ten different regions to activate The Bandle Tree and win. We have tools to stall out the game such as Minimorph , Buster Shot
 , and Ravenous Flock
 , and plenty of units to effectively trade down the board like House Spider
 . But it’s important to realize that our game plan allows us to also play for a more aggressive strategy. Sometimes we don’t draw our The Bandle Tree, or our opponent has ways of removing our landmark. Other times playing a long game for The Bandle Tree is simply too slow.
With our naturally low curve and Bandle City Mayor , we can go wide very quickly. In conjunction with Poppy
 , our early board leads to snowball pressure, especially when we have elusives like Fizz
 or Bandle Commando
 down. While we don’t have burn cards, our deck naturally allows us to always go wider than our opponent to consistently get chip damage every attack turn. Alternatively Bandle City Mayor and Loping Telescope
 also give us an opportunity to Manifest other potential win conditions. This way, we’re not tunneled into playing straight for our The Bandle Tree gameplan. It’s easy to pick up a deck, find the main Win Condition, and lose sight of other alternative plays we can make.
Who is the Beatdown?
I think one of the biggest factors that affect the appropriate Win Condition comes down to this one concept: Who is the Beatdown? It boils down to knowing who is the aggressor in a matchup. The aggressor is put in the position of needing to end the game, while the other player can take it slower and play more reactively. It’s a simple concept that can completely change how we play a certain matchup, but not one that beginners will internalize early on.
In most instances, this is very intuitive. The aggro deck is the “Beatdown” and the control deck can afford to take things slower. Where this concept matters a lot more is in instances where both players are playing an aggro deck or if both players are playing a control deck, etc. In each non-mirror match instance, an aggro deck or a control deck will have to assume their opposite role. The slower aggro deck will have to play more for the board, looking to take conservative attacks and value trading down the board. The control deck that doesn’t have the value to go super late or has a slower combo finish will have to prioritize ways to develop Tempo and pressure early on. This is where it is very important to identify different ways outside of the main Win Condition to close out.
Putting the Concepts To Practice
With everything in mind, let's put what we’ve learned to work. This is a matchup that I have enjoyed playing recently and will exhibit everything we have talked about with Win Conditions. The matchup is Riven Swain
Swain versus Lurk. The first step before we even begin our mulligan is to first identify who the Beatdown is. Take a moment to look at the two decks and consider this by yourself before you read on.
Lurk
17 cards

23 cards
Riven Swain
25 cards
15 cards


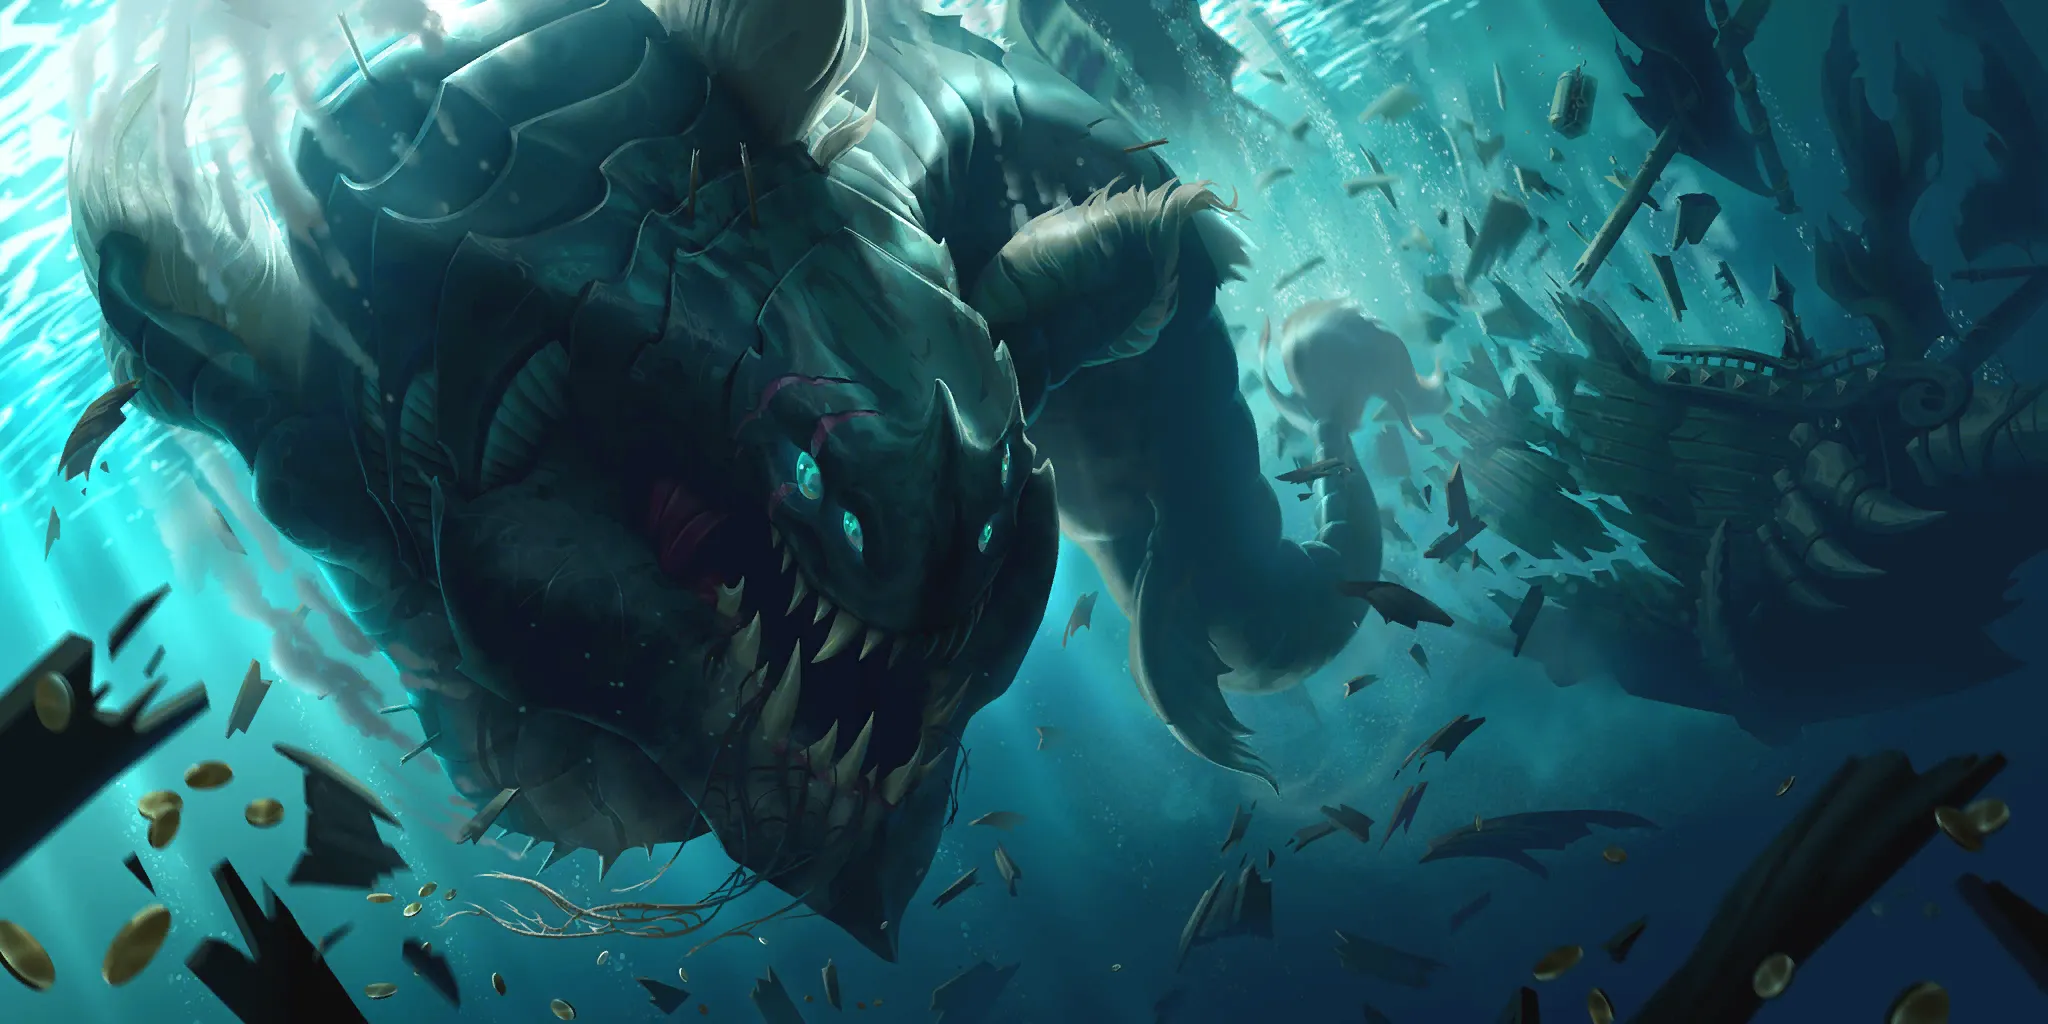
Lurk aims to snowball stats each turn by lurking, and then ending the game with big overwhelm units such as Rek'Sai or Xer'sai Dunebreaker
 . They have little interaction outside of combat with the exception of Death From Below
 and Bone Skewer
 . Riven Swain on the other hand has pings from Pokey Stick
 and Lecturing Yordle
 , and cards like Ravenous Flock and Scorched Earth
 to remove big units from the board. Their late game consists of a leveled Swain and The Leviathan
 to stun-lock any board based deck out of the game. Intuitively, the Swain deck should be the control player and the Lurk player is the beatdown right? Wrong.
If you are surprised to find that the Riven Swain deck is actually the one who needs to dish out the Beatdown, then we can begin to think critically. If we play a super slow game and aim to stick Swain and The Leviathan to win the game, we open ourselves up to our lose condition: Jaull-fish . In the midgame, the lurk deck can trade up with high powered one-drops, and Swain is put in a weird spot where he can’t really attack. While the Swain deck can deal with some of the bigger units pretty well, it doesn’t take many units from the Lurk side to completely flip the game with Jaull-fish. If we play The Leviathan and a Jaull-fish comes down in response, wiping our entire board, then we instantly lose. Alternatively, we get put into a similar position if we get our The Leviathan hit with a Death From Below where the resulting Tempo swing may just be enough to close the game.
Instead, let's consider our alternative Win Conditions. This is where Riven comes in as the deck’s ability to end games aggressively. With the Reforge blade fragments from Riven, we can play very aggressively, giving units Overwhelm or Quick Attack to apply pressure. If Riven ever levels by surviving three turns, giving two units the effect of Blade of the Exile can often outrace the Lurk deck. Not to mention that this combo also comes down earlier than Jaull-fish can clear our board. Even when we consider what to take off of Conchologist
 , we may also consider more aggressive cards such as Might
 or Weapon Hilt
 if our hand allows it. And now we can see why understanding this simple concept will affect us starting from the mulligan. We can’t afford to keep cards like Swain or The Leviathan in our hand, and we should put more value in finding Riven and other early units in the mulligan.
Wrapping Things Up
Even with our quick example, I expect most of you, even experienced players to not know what the right outcome would be. Most of the time, knowing who the Beatdown or what alternative Win Conditions there are in every matchup comes down to a mix of experience and time. But by starting to think more about different ways and strategies with the same set of cards, we will begin to advance the scope of how we look at the game.
In the next article, 'How to Beat your Opponent', we will expand on how we can better understand how to win against our opponent and what the right mindset should be to approach a game. Stay tuned, and peace out.
Let me know if you have any questions! You can find me here:
Discord: Jasinsane #0246
Twitter: https://twitter.com/Jasensational
