


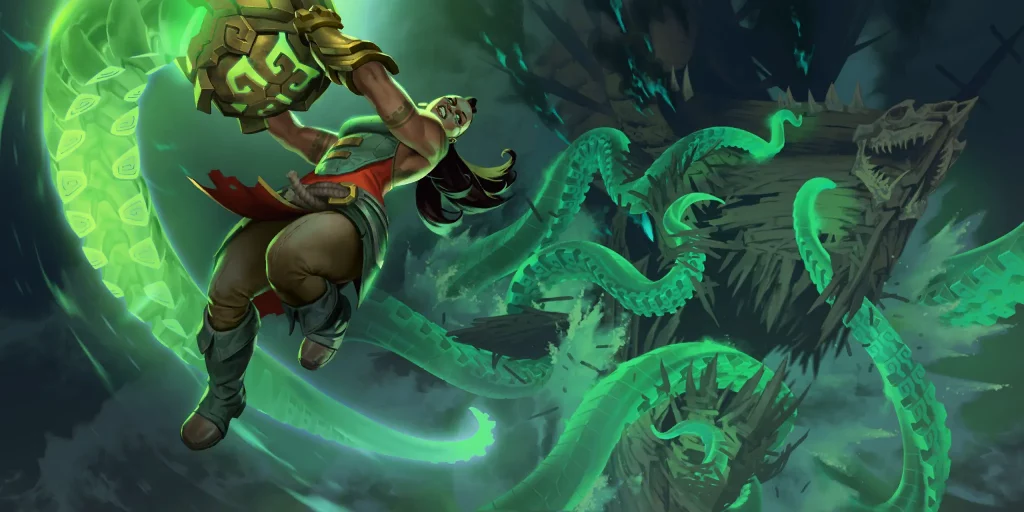
Illaoi Bard has been putting up one of the highest winrates on the ladder one week prior to and after the Forces From Beyond expansion. It combines the powerful Illaoi package with Bard
 ’s Chime
 s to get a head-start on the board, while leveling Bard through the Spawn mechanic.
30 cards

10 cards
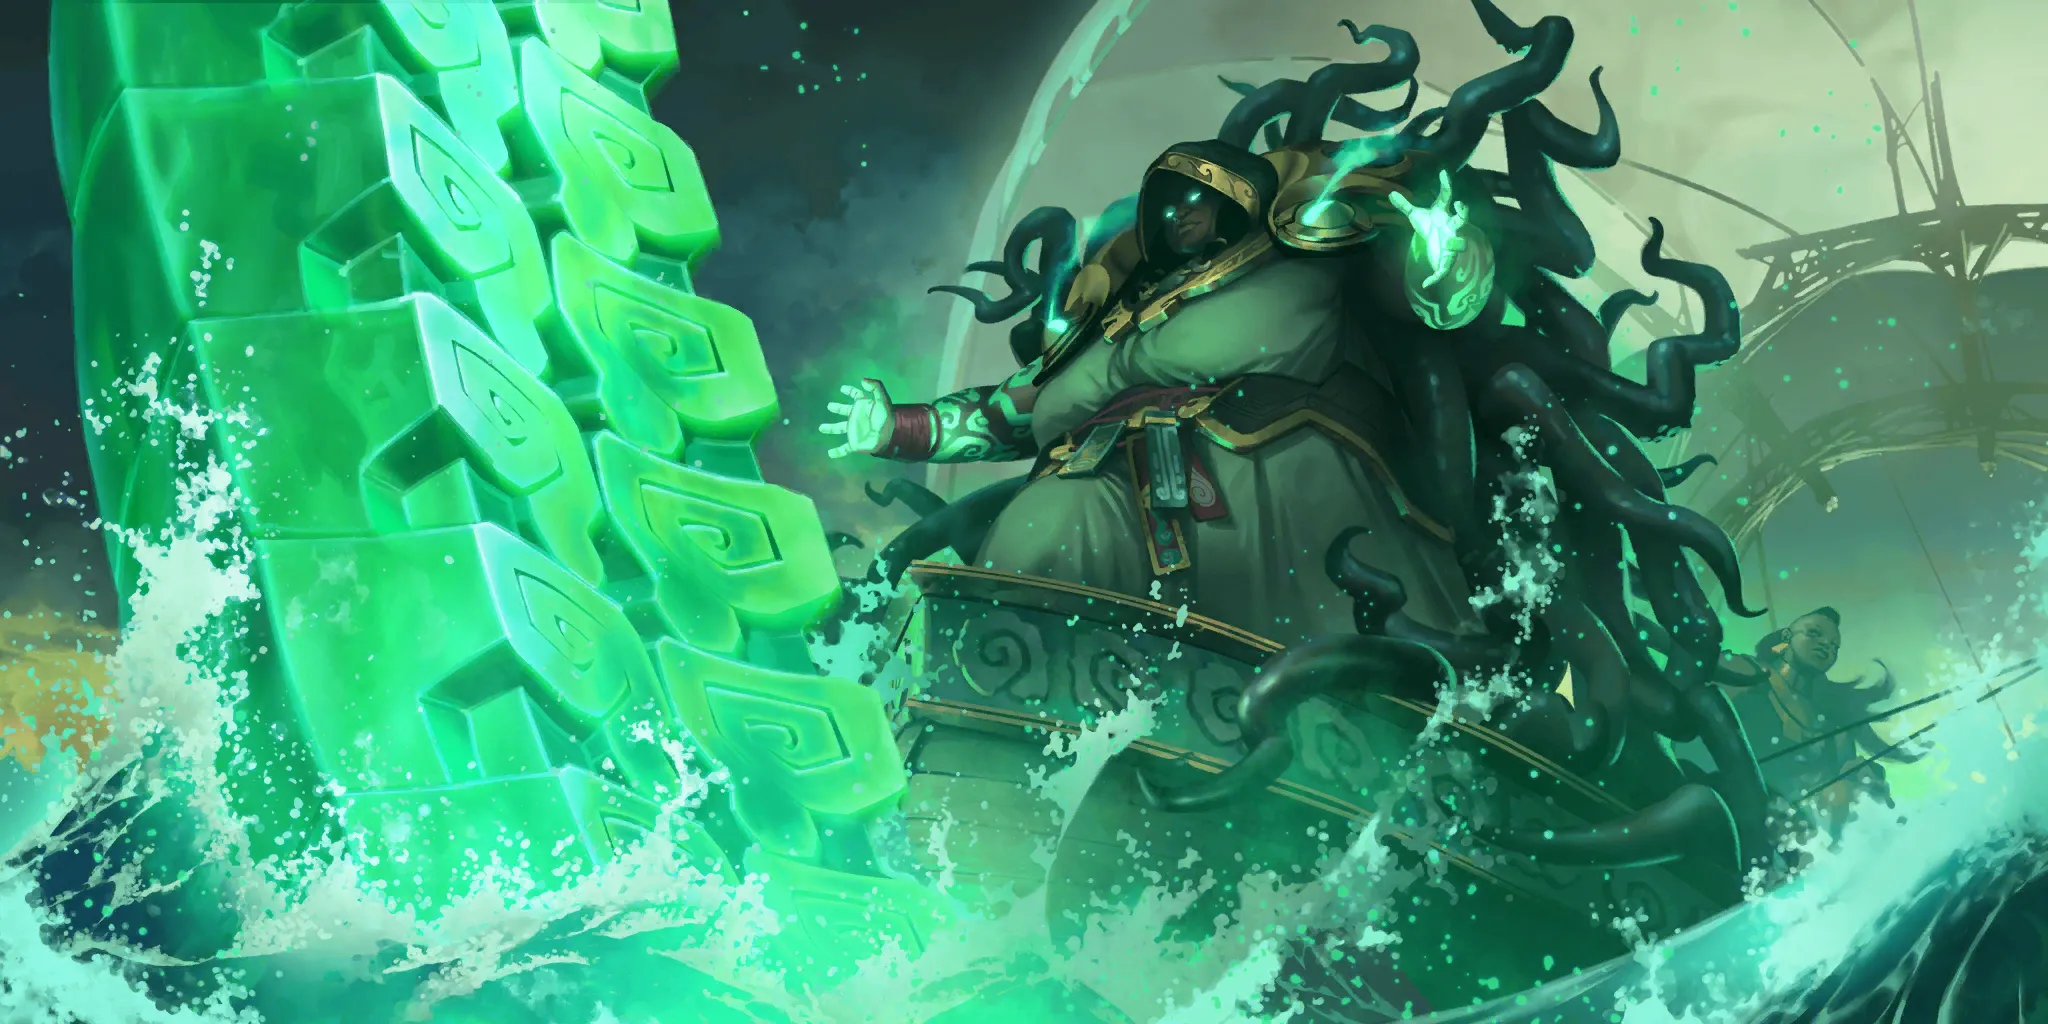


LoR Deck: Illaoi Bard Breakdown

If you’re reading this, you probably know how Illaoi functions. We want to Spawn a big Tentacle that in turn grows Illaoi into a gargantuan, Overwhelming menace. Since this is a guide, let’s go over our Tentacle techniques:
The Squids

As mentioned above, our goal is to get a big Tentacle that on attack buffs Illaoi’s attack stat. Especially once we level her, Illaoi (level 2) makes it easier for us to Spawn a new Tentacle should the old one die.
Since we won’t draw Illaoi in every single game, we need a backup plan to win. Since we’re good at creating a high-attack unit, why not give it Overwhelm to push for lethal? The Sea's Voice does exactly that on attack.
While she might be a three-drop, we usually won’t play The Sea's Voice on curve, but rather wait till we have a strong enough Tentacle to push enough damage.
With these two cards we’re able to win the game with big feelers. But how do we get our big bois down in the first place?


Watchful Idol is our MVS (most valuable Spawner). If we play this in round one, we get a 3|3 Tentacle in round four, perfectly in time for Illaoi and our other cards relying on Tentacles.
Answered Prayer is another way of swiftly summoning a Tentacle. It’s less powerful than our MVS, so we usually won’t keep it in our Mulligan and only run two copies of it, but it’s still useful to enhance our Tentacle-reliant deck.
We almost never want to spend five mana with this card, by the way. Quick math tells us that we can either pay two mana to Spawn two, i.e. pay one mana per Spawn, or pay five mana to Spawn four, i.e. pay 1.25 mana per Spawn. Also, if we spend five mana on this card, we will oftentimes tap out of mana to threaten an Illaoi or Tentacle Smash .
.
Eye of Nagakabouros is an efficient all-rounder that Spawns at Burst Speed, while also refilling our hand. Simply having the threat of playing this card while blocking/attacking makes it dangerous for our opponent to block our Tentacle, giving us an edge.
No deck is fun if it can’t interact with the foe’s board. Let’s take a look at how Illaoi Bard is able to do this through even more…
…wait for it…
…Tentacles!

If Watchful Idol is our MVS, Tentacle Smash is our MVR (most valuable removal) (author’s note: most valuable smasher would be cooler, but that would be double naming MVS).
Tentacle Smash will oftentimes trade two-for-one, especially if we have a Tentacle before playing Smash. It also Spawns, which means it works great with Illaoi. Think about lines of play like:
R1: Watchful Idol -> R3: Tentacle Smash -> R4: Illaoi -> Attack
… which are difficult to deal with for any opposing archetype.
Riptide Sermon is the latest addition to the list, originating from the Forces From Beyond expansion. It complements our MVR as the only other direct-damage spell we run in our list, and similarly to Tentacle Smash, it also Spawns (and it even damages the opposing Nexus on top of that). Notice a difference, though:
Riptide Sermon doesn't require our Tentacle and the target to strike each other – on the one hand, it means that in Riptide's case the Tentacle will always survive, but on the other hand it means that Riptide will always deal exactly four damage (unlike Tentacle Smash, which will deal as much as damage as the Tentacle is big).
It turns out that four damage is the perfect number (Jhin would agree!) for dealing with most champions, e.g. Gwen
 or Yasuo
 (or, again, Jhin!). Dealing two damage to the Nexus looks negligible at first, but sometimes this two damage is all we need to set up a lethal attack.
Before we talk about Bard, let’s look at our other means of interacting with the enemy board:


When you play Bard, it turns out that you have to include 30+ cards of one region into your deck. This means that not all 30 of those cards will be S-Tier. Ye Been Warned is one of those filler cards.
You might remember the more popular Illaoi pairing with Demacia (known by some as “Squid Surprise” =) which worked so well in part because it had access to the powerful combat tools of Demacia, like Single Combat and Concerted Strike
 .
.
Since Bard Illaoi doesn’t have access to those tools, we have to get a little more creative at interacting with our foe’s units. Ye Been Warned is the result of that.
The payoff of this card is manyfold:
For once, we can target a key threat to make it Vulnerable and force it into combat. For example, a low-attack unit like an opposing Bard can be a great target.
On the other hand, we can pick a weak unit that Illaoi or our Tentacle can challenge to push damage while not dying.
And obviously, if we succeed at killing the target, we can cheaply cycle our hand.
Ye Been Warned might be a filler card, but let me tell ya, this spell is no deadbeat either – Ye Been Warned! =)
Hired Gun on the other hand is an S-Tier follower in the current meta. Its 2|3 statline means that it oftentimes trades two for one, and the Vulnerable-granting effect can hit vital opponents like Kai'Sa or Irelia
 to set up a devastating attack.
Cosmic Binding is one of the flex slots in this list that can be replaced by a multitude of other cards (see Tech Choices below). In the current meta, when one big threat like Kai'Sa or Illaoi attacks, a stun can buy us that one final turn to set up a lethal attack.
Note that you need two targets on the board for Cosmic Binding to Stun (similar to Bard’s LoL ability =), so keep a second enemy unit alive if you rely on the Stun effect!
The Bard s
s


I doubt that you’re reading this guide and don’t know what Bard does. It’s always the same thing: Bard shuffles Chimes in our deck every turn, and eventually, we will draw them to buff up our units in hand.
The reason Bard works in this deck is because growing a Tentacle through the Spawn mechanic counts as buffing a unit, thus progressing Bard’s level-up condition.
This means that Bard can be leveled around round six and above. When our foe has costly dealt with Illaoi and her Tentacle, chances are high that they can’t remove the following Bard. Since he will be leveled by then, Bard can easily run away with the game by out-valuing our opponent on board.
Byrd, The Bellringer is one of the strongest one-drops in the game since it can give you a head start on board, especially if its Chime lands on Illaoi.
Esmus, Breath of the World is another one of these filler cards that is here because we have to put 40 cards in our deck. It doesn’t do as much as Byrd, but its Chime can still be game-deciding. In the late game, Esmus can be a threatening attacker if a couple of Chimes land on it.


Fortune Croaker is just another way of cycling through our hand and getting to our more important cards. The nice thing about Bard is that playing weak units that draw a card is strong because we can draw multiple Chimes and get an additional body to get buffed by Bard.
Blood in the Water is the good old win-more mechanic better known as Rally. Once again, we try to mimic Demacia's Golden Aegis and Cataclysm
 to compensate for our lack of a second region!
Tech Choices

Let me show you the most popular Illaoi Bard list on the ladder right now:
31 cards
9 cards
As you can see, it is viable to run Zap Sprayfin in this archetype and cut copies of Riptide Sermon and Blood in the Water for it. Zap Sprayfin has the upside of drawing us an additional card and being an Elusive that can push serious damage once buffed by Chimes or Bard (or both!). On the downside, Zap is a four-mana play (technically three mana thanks to its Attune, but we still have to pay 4 non-spell mana upfront) for a 2|2 body, which is far from ideal. It also doesn’t support our Illaoi game plan.
Since we need to have enough spells in our deck to draw with Zap, we also play two copies of Make it Rain . And that’s exactly why I don’t like this list.
Make it Rain trades one-for-one in the best-case scenario in a lot of matchups, and zero-for-one in most of the other ones. It’s not even that good against aggro, since they play two-health units like Legion Rearguard and we can’t deal another point of damage after Make it Rain. A half-decent player will be playing around Make it Rain with very few problems.
Speaking about lists – The List is a popular replacement for Ye Been Warned. Maybe I miss the point of this card, but I don't think The List is that great. You can only make an enemy Vulnerable through Hired Gun which is too early in the game to effectively use the free Attack effect of The List.
That being said, it’s nice to have a zero-mana threat of making an enemy Vulnerable, meaning your foe will always have to be on the lookout. On ladder though, opponents don’t know your decklist, so they will have to decide if they play around The List no matter if you run it or not.
The real advantage I see in this card is against aggro, where you might not have one mana open. In this setting, removing one attacker for zero mana is great, because Illaoi decks struggle to go wide and defend against aggro archetypes.
Mulligan
Our main-line Mulligan is simple: Find our MVS, MVR, and Illaoi. Everything else takes a back seat and only gets consideration once we have one of the above.
Tentacle Smash is an S-Tier spell. We want to keep it almost always, no matter the matchup. It can kill Annie or Gwen in an aggro/control match, remove a backline threat like Aphelios
 or Kai'Sa, or gain us a tempo advantage by killing a two-attack unit and trading two-for-one.
Similar things can be said for Illaoi. While she doesn’t remove enemy cards, she removes the enemy Nexus. As soon as we draw a single Tentacle card, she becomes a serious threat that needs to be dealt with. And because of her high health, she will often trade two-for-one as well.
Our last staple card is Watchful Idol. This is a true 'always keep'. We never, ever think about throwing this card away. It gives us a 3|3 Tentacle for one mana that enables our entire deck.
Reader: But, Priestess, what if…
Illaoi: No! The Sea cares not for “what if”! We keep Watchful Idol in our opening hand – LEARN, OR DROWN!!
Answered Prayer can be a keep, but only if we have Illaoi or Tentacle Smash in hand. Otherwise, we never keep it, since it doesn’t do enough on its own.
Riptide Sermon is great in a midrange or control setting where we can disrupt a foe's key threat, like Gwen in a control deck (not against aggro, though!!!). It’s somewhat of a high-risk keep in the Mulligan, because it will be dead for the first three turns. And if our opponent doesn’t end up giving us a target, we can’t just pass with six mana open – they can pass back, waste our mana, and get a tempo advantage.
About Byrd, The Bellringer
Even though Byrd is always useful, we only keep him in matchups where we need a one-drop. Instead of thinking, “Is this a good card?”, ask yourself, “Does this win us the game?”
In most matchups, the answer is no. We oftentimes want to find a Tentacle Smash to deal with threats like Akshan ; or find Illaoi to progress our game plan. If we have our core pieces, we can think about keeping Bryd. But before that, focus on finding more important cards.
If we happen to get Watchful Idol and Byrd in our starting hand, The question arises of what to play first.
In most cases, I will go for Watchful Idol to get the Spawning going, and because hitting a Chime on Idol sucks since it doesn’t change the amount we Spawn.
It can also be a useful trick to Spawn one (or two) from Idol, trade away the 1|1 (or 2|2) Tentacle, and Spawn a new one. Especially versus enemies that want to go wide (e.g. Aphelios Viktor or Jhinnie), this is a great way of trimming down the enemy board instead of remaining with one big Tentacle.
On the other hand, if our opponent plays a Legion Rearguard, we sure as heck play Byrd, The Bellringer first! =)
Matchups
Kai'Sa archetypes – slightly unfavored

Mulligan: Hired Gun, Tentacle Smash, Illaoi, Riptide Sermon
This matchup can go two ways. Either you start with Illaoi in hand and try to push your Tentacle game plan before they level Kai'Sa, or you don’t and then play the reactive game.
Removal like Tentacle Smash and Riptide Sermon are your friends, alongside Hired Gun. It is entirely about Kai'Sa, so always think about how they could play her in the current or following round.
Threaten to play your Removal by keeping enough mana open and not attacking. Remove cards like Valor on round four to prevent Kai'Sa from copying its keywords with Second Skin .
.
Remember that once they play Kai'Sa, you get an action to play a slow spell before they can cast the Focus-Speed Second Skin.
Only attack when you threaten a substantial amount of damage with a big Tentacle and Illaoi. Or when you hold Blood in the Water. Since it is a one-of in most decks, I don't think it’s a good idea to bluff having the Rally effect.
This matchup can get rough if they level Kai'Sa in round five and have several copies of her. If you granted her Vulnerable, open-attack to play around Barrier effects like Brightsteel Protector and Golden Aegis.
Azir Irelia – favored


Mulligan: Hired Gun, Tentacle Smash, Illaoi
The reason this matchup is favored for us is Illaoi’s level-up condition. By repeatedly blocking Azirelia’s Sand Soldier s and Blade
 s with a Tentacle, we rapidly level Illaoi and threaten to finish the game.
Even if they have one Recall effect like Defiant Dance, we can just replay Illaoi/our Tentacle. Only if they can bounce them several times while having an unanswered Azir /Emperor's Dais
 on board do things get rough for us.
Hired Gun and Ye Been Warned are great for removing frail followers like Sparring Student, Greenglade Duo , and Domination.
Sneezy Lulu – favored


Mulligan: Tentacle Smash, Hired Gun, Byrd, The Bellringer
In a nutshell, we kill them before they kill us and that’s why we win.
Tentacle Smash is a game-changer because we can disrupt Lulu. Even if we don’t find it, growing a Tentacle bigger than a 4|4 means that it either survives the Flame Chompers! combo of Lulu, or blocks Lulu when she attacks.
Hired Gun is also great because she stops our enemy from attacking with units that have less than three attack, like Zaunite Urchin .
.
Twisted Annie – slightly unfavored


Mulligan: Illaoi, Zap Sprayfin, Byrd, The Bellringer
We keep Byrd, The Bellringer to block early damage from units like House Spider and Arachnoid Sentry.
This matchup is miserable because our opponent can cheaply remove our Tentacles and Illaoi with Ravenous Flock, Disintegrate, and Scorched Earth .
.
We also get punished for developing before attacking because of TF’s Gold Card and Arachnoid Sentry.
On paper, the match is still slightly favored for us though. This is because they can eventually run out of removal, and if the stars align, a leveled Bard can win us the game.
Maybe I’m biased because I have a negative WR against Annie TF, but at least to me, this matchup feels slightly unfavored.
Otherwise, I found that Chimed-up Elusives can push a significant amount of damage. We put them in a difficult spot when they have to kill/Stun Zap Sprayfin and potentially give us an opening for our Tentacle game plan. That involves us running Zap in the first place though.
Conclusion
Illaoi Bard is a by-the-books midrange deck that differentiates itself from other, less interactable archetypes like Kai'Sa Demacia by reacting to the opponent’s board.
With its diverse tools, there are few matchups for Illaoi Bard that stick out as bad, especially in this midrange and combo meta.
Suppose you want to bring this archetype for a Gauntlet run or other Bo3 setting (like the upcoming Mastering Runeterra Subscriber tournament). In that case, you could pair it with Sneezy Lulu and Annie TF, looking to ban Kai'Sa archetypes and prey on Irelia Azir.
To be honest though, Illaoi Bard has such a great matchup table across the board, that you can pair it with any two coherent decks and have a solid lineup.
I hope you enjoyed this in-depth guide and have learned something new. I encourage you to try out your own decklist and make your own experience with Illaoi Bard, who I lovingly nickname Chimey Tentacles! =)
If you have any questions about the guide, don't hesitate to reach out to me on Twitter (@Leer97) or Discord (Leer#2026)!
I’m also open to feedback and advice on how to improve the next guide for you, so please tell me what you’d like to see next!
Thanks for reading and see ‘ya in the next guide! =)
